Josh's Frogs
Why you should buy from us
Starting Out Right
Dendrobatid Egg and Tadpole Care
Dendrobatids, more commonly known as dart frogs, reproduce by laying eggs. These develop into a free-swimming larvae called tadpoles before coming out of the water as miniature versions of the adults. Care of the eggs and larvae are very different than caring for the frogs in their final form–this blog entry will help ensure the young animals get the proper care they need.
Egg Care
Depending on the species of dart frogs, eggs may be deposited on leaves, in film canisters, on petri dishes under coco huts, or even on the glass wall of the vivarium itself. Egg clutches can vary greatly in size–some only lay 2-3 eggs at a time (Ranitomeya sp.), while some are capable of laying several dozen in one clutch (Phyllobates sp.).

Once found, the eggs can be removed from the vivaria for artificial rearing. If they are attached to a leaf or laid on the glass, they can be removed with a variety of objects (I primarily use a large spoon or razor). If they are laid on a petri dish or in a film canister, the entire object can be removed from the vivarium. I use a Slurpee straw to remove eggs from the film canister and place them on a petri dish. The same is done with eggs laid on leaves or the glass.
Now that the eggs are on a petri dish, they need to be kept moist. I use reverse osmosis water with a bit of boiled peat added to mist the eggs, until there is a small pool of water just touching the eggs. The petri dish is placed in an 8 oz. container (or similar; I used to use Ziploc sandwich containers) that contains a small amount of water on the bottom (usually just enough to cover the bottom of the container). The container is labeled with the species name and date laid, and kept at a temperature in the 70s °F.
Keep eggs moist by placing them in a sealed container with water.
Observe the eggs as development progresses. Bad (unfertilized) eggs will generally turn white and mold over–these eggs should be carefully removed and discarded. Fertilized eggs will slowly develop a line across the sphere of the egg – this is the tadpole's body forming. The tadpole will continue to grow as the sphere (yolk) shrinks in size, until a fully developed tadpole is visible in the egg.
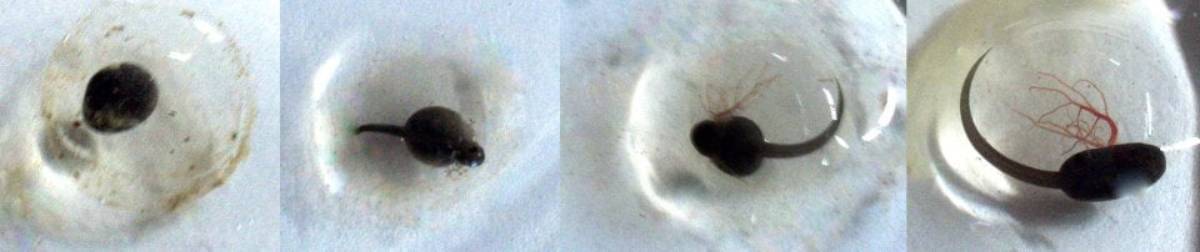
From left to right: Dendrobates tinctorius 'Cobalt' egg at 1, 4, 10, and 15 days.
Tadpole Care
Depending on species, the eggs will hatch in approximately 14-21 days after they were laid, assuming they were fertilized. It can be difficult to see if a tadpole is out of the clear egg gel. The tadpole will assume a curled position as it grows in the egg. Once it assumes a straightened position, it has hatched. Initially, the tadpole will remain stationary as it absorbs the remains of the yolk, and may not respond to stimuli.
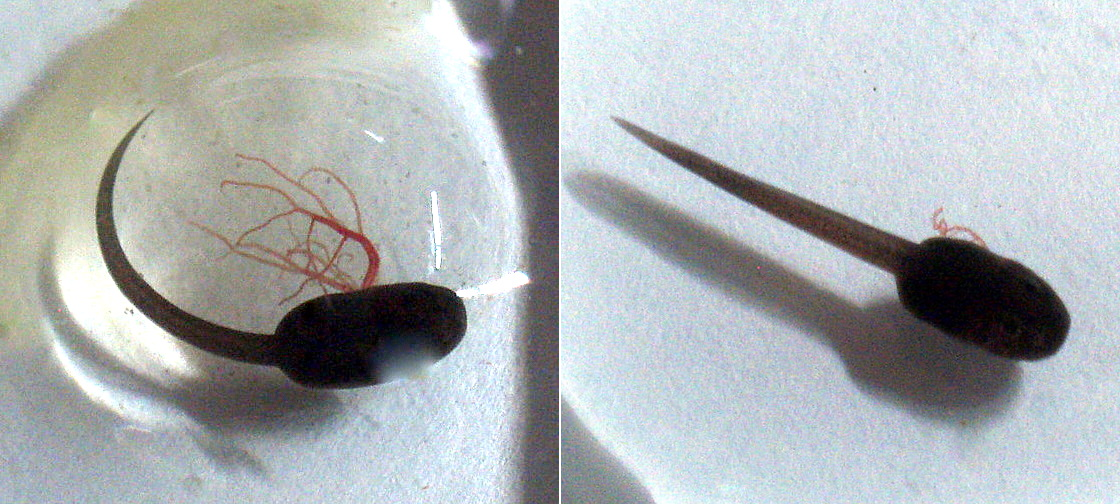
Left: Unhatched egg, on the verge of hatching. Right: A newly hatched Dendrobatid tadpole.
Once the tadpole has absorbed it's yolk (typically within 24-36 hours of hatching), it is carefully removed with a turkey baster or Marina Betta Waste Remover and placed in a labeled 32 oz. plastic cup with approximately 8 oz. of the same reverse osmosis/boiled peat mixture as used on the eggs. Additionally, a piece of Indian almond leaf and a bit of java moss are placed in the water. The Indian almond leaf releases tannins into the water, which function as a natural anti-fungal and anti-bacteria agent, as well as providing shelter for the tadpole, and an increased surface area to graze on. The java moss produces oxygen, and serves as a source of filtration and nitrogen uptake. The water is kept shallow initially to facilitate the tadpole's ability to swim to the surface and gulp air.
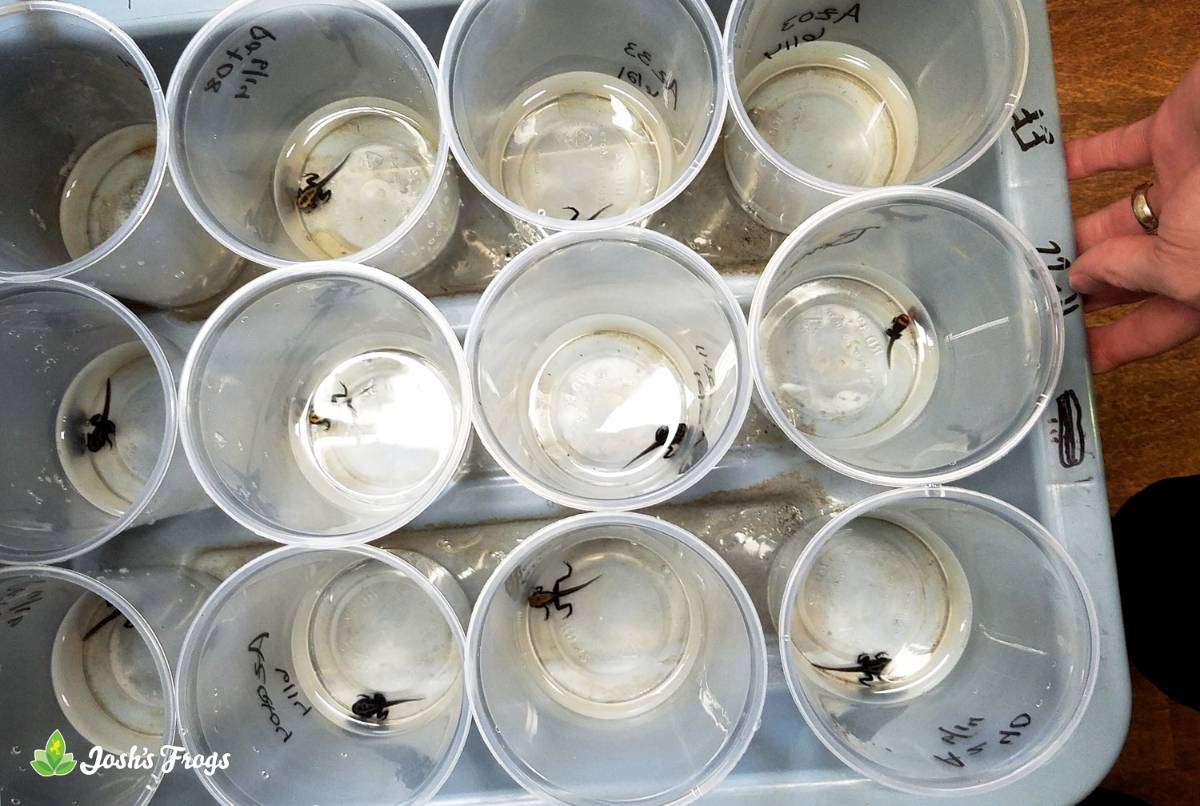
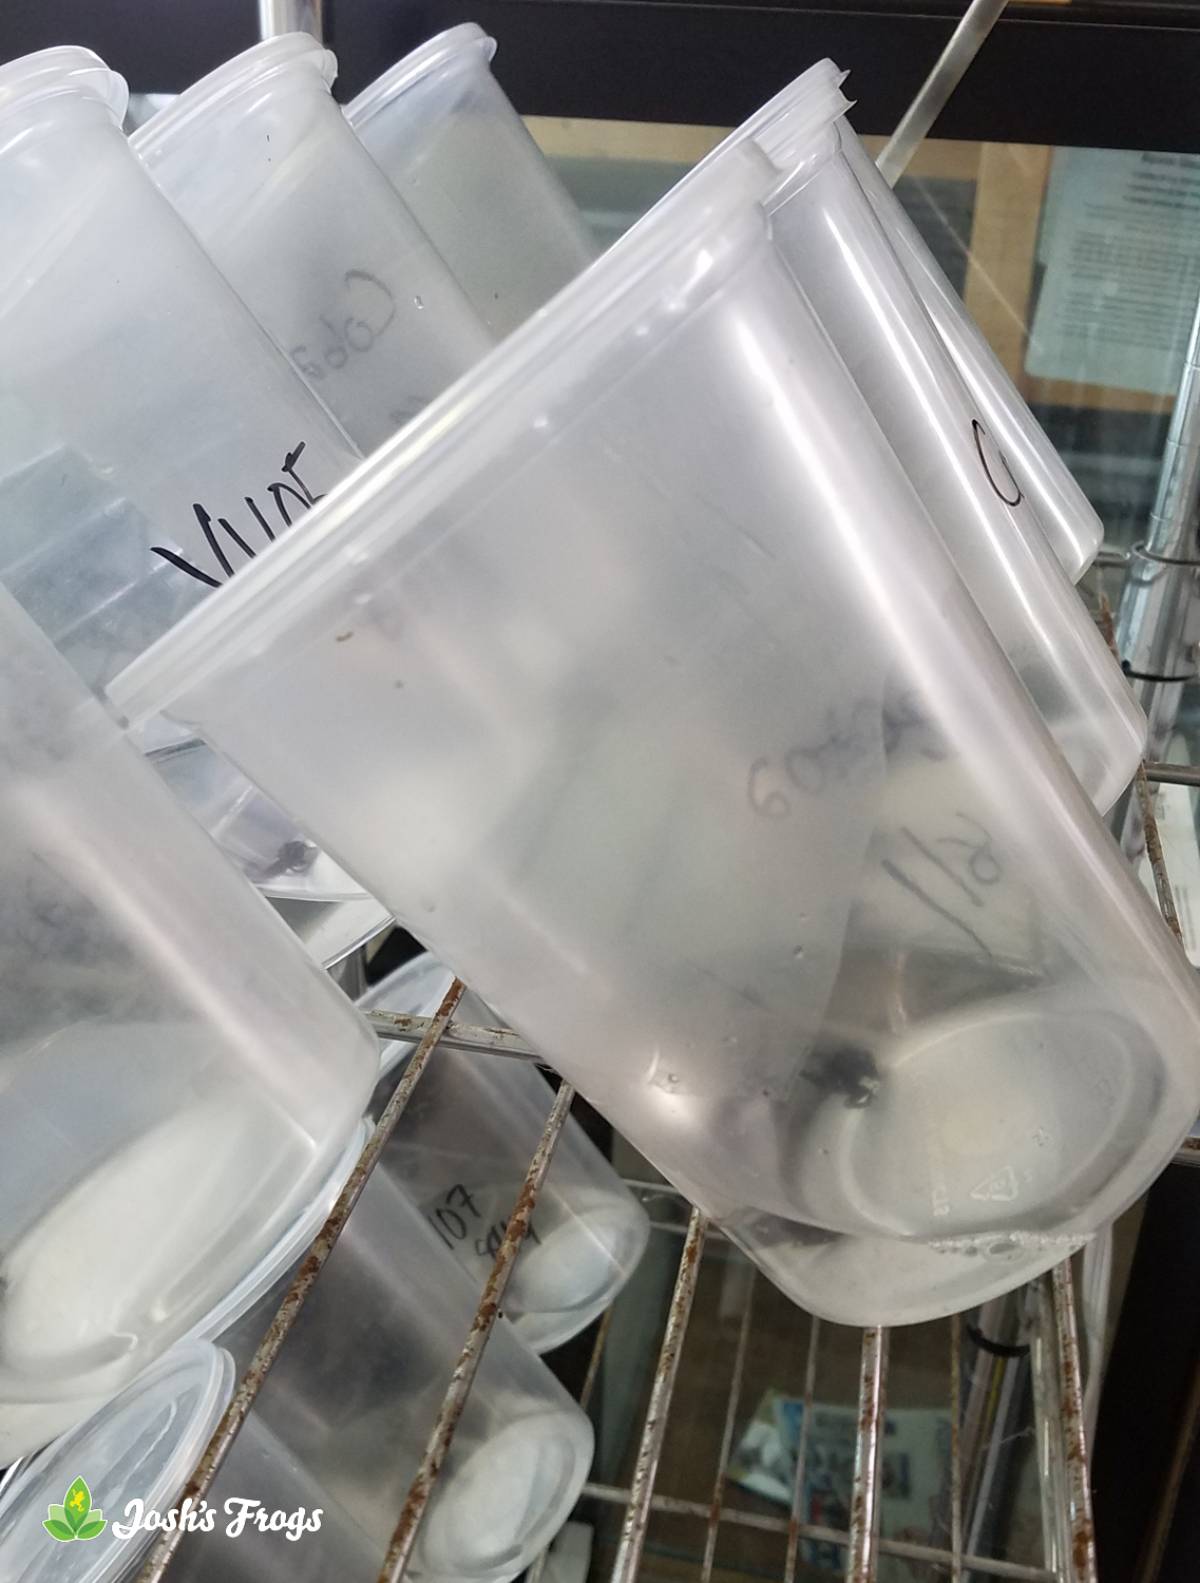
Tadpoles are kept in 32 oz., cups. Make sure to label your tadpoles carefully if you are working with multiple species!
After a few days, the tadpole cup is topped off with reverse osmosis water, and is fed for the first time. There are a wide array of foods available for tadpoles–we feed primarily Josh's Frogs Dart Frog Tadpole Food, as well as Sera Micron, and have had much success with these products. When selecting a food, it is important to choose one that does not readily foul the water, and contains a significant percentage of protein and vital minerals and vitamins. The tadpoles are fed 1-2 bits of food 2-3 times a week, and kept at temperatures in the low to mid 70s °F.
Over the next several weeks, the tadpole will continue to grow. As the water evaporates, it is topped off with reverse osmosis water. After approximately 6-8 weeks (this depends greatly on species and the temperature at which the tadpole is raised, with high temperatures resulting in faster metamorphosis and smaller froglets), the tadpole will develop visible back legs. After another month, the front legs will become visible. The front legs actually develop at the same time as the back legs in frogs, but do not emerge until much later. Once all four legs are visible, it is time to prepare your tadpole for morphing.
Dendrobatid Froglet Care
Amphibian literally means "two-sided life"–the origin of this term is very apparent in the life cycle of the dart frog. Care of the eggs and aquatic larvae differ greatly from that of the adult animal, but is by no means difficult.
Metamorphing Larvae
When the tadpole shows both it's back legs (visible about a month before it emerges from the water) and it's front legs (visible about a week before it emerges from the water), it's time to switch it into a container that it can easily crawl out of the water and onto land. At Josh's Frogs, we simply turn the 32 oz. container we used to raise the tadpole at a 45 degree angle, drain out most of the water, and place a vented insect cup lid on top to prevent an unintentional escape.
Tilting the container 45 degrees provides a gentle slope for the froglet to emerge.
At this time, the froglet is absorbing it's tail and using it as a food source–there is no need to feed. The future froglet will remain in the water for a time, and may emerge periodically, returning to the water when they are frightened. When the froglet is seen out of the water for the majority of the time, it is then moved to a rearing bin. It is not uncommon for part of the tail to remain at this point–the froglet will continue to absorb it, and will not take food for a few days after the tail is no longer visible.
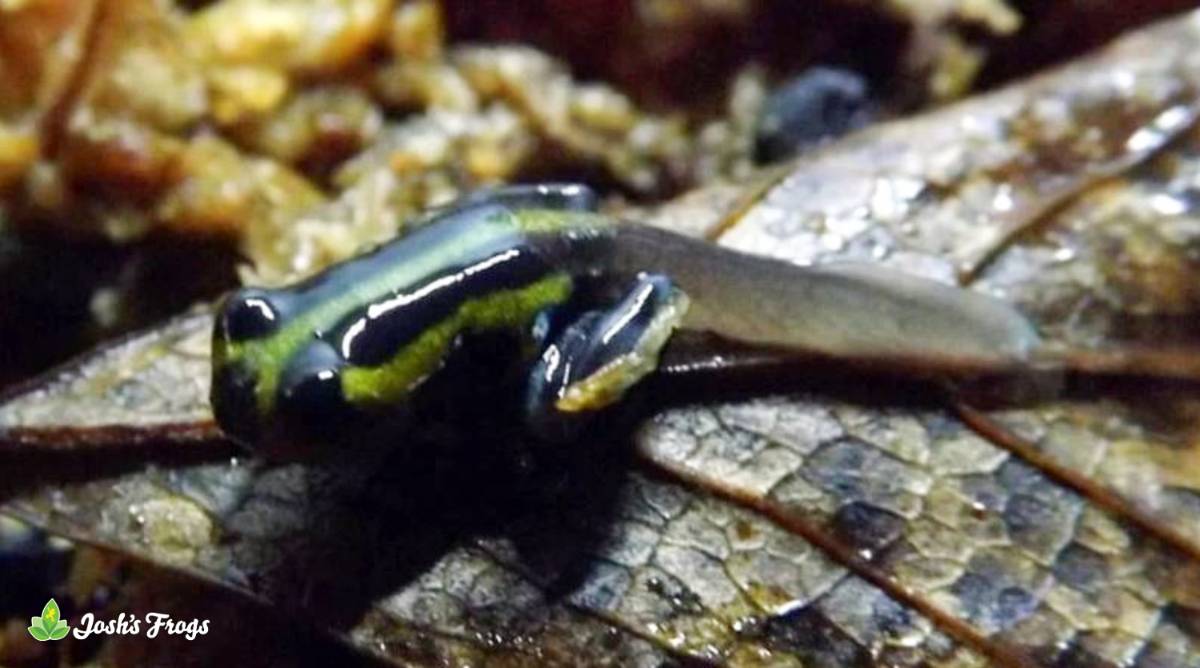
When froglets first emerge from the water, it is not unusual for them to have some tail remaining.
Care of Froglets
After they have left the water, froglets are removed to rearing bins. We use 128 oz. plastic food storage containers to house froglets in pairs. Larger containers can be used and froglets can be raised together in larger groups, but we find that pairs work best for us.
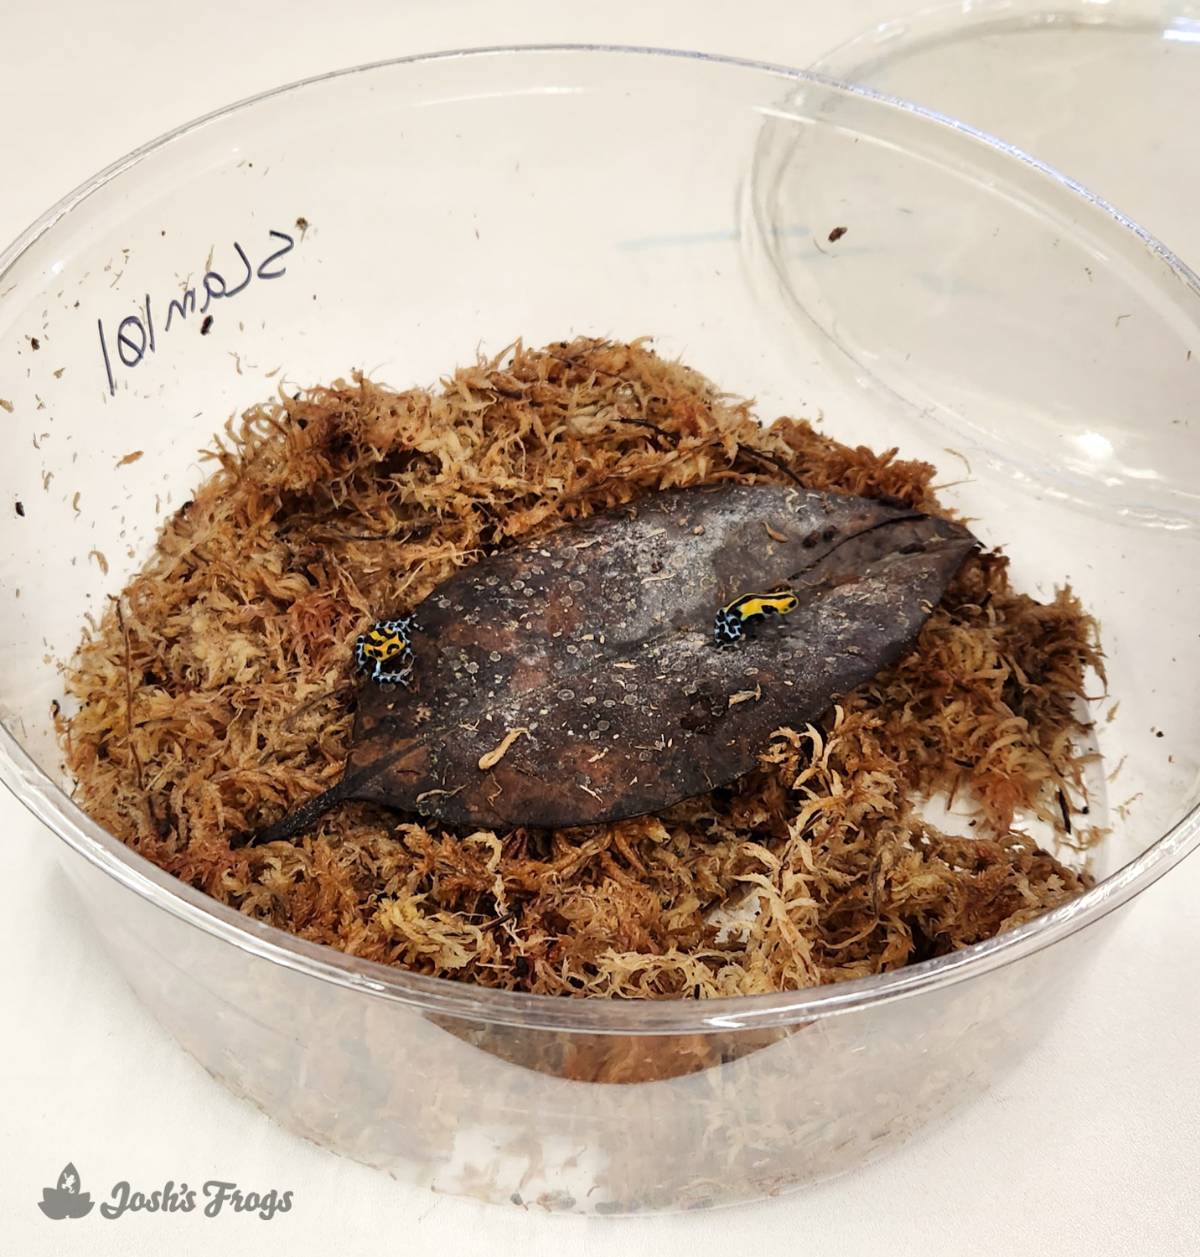
128 oz. plastic containers work great for rearing froglets.
We use a substrate of damp long-fiber sphagnum moss, with a few dried leaves and a plant clipping. The sphagnum moss has natural antibacterial properties, and keeps the enclosure at a constant high humidity level. The plant clipping uses up nutrients (i.e. waste) as it grows, and the dried leaves provide hiding places for the young frogs.
Springtails are added to the enclosure to help maintain a clean environment, as well as provide a constant food source for the young amphibians. We feed them 3 times a week (Monday, Wednesday, Friday) with small fruit flies. The flies are dusted with a vitamin and mineral supplement (we alternate between Repashy Calcium Plus, Rep-Cal Calcium with D3, and Rep-Cal Herptivite) at every feeding.
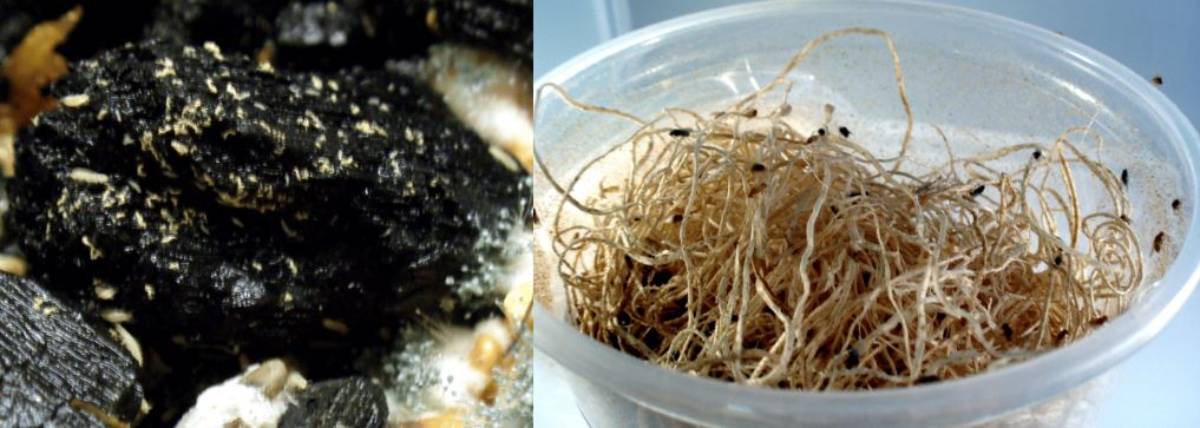
Springtails and dusted fruit flies make up the bulk of a young froglet's diet.
Make sure to provide a constant food source for the young and growing frogs. You want a small number of food items to be present at any given time, but you never want there to be such a large amount that it stresses out the frog(s). With proper care, this simple enclosure will provide the optimal environment for the new frogs to thrive for the first 2-4 months of their life out of the water. At this point, they are typically moved into large quarters or a vivarium.
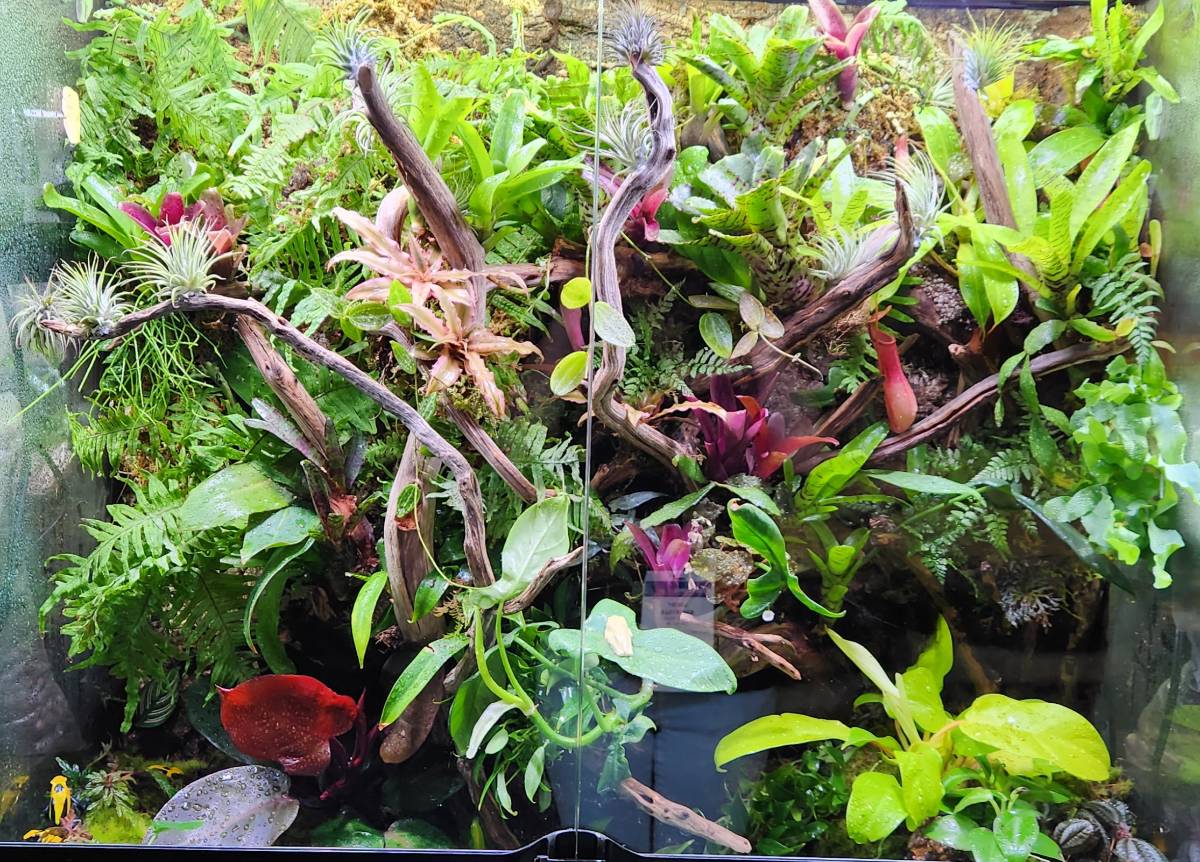
After froglets are several months old, they care ready to be introduced into a vivarium.
Topics in this Blog
1-800-691-8178

Our Team
Josh's Frogs ©2020 - 2026 by Josh's Frogs, LLC.