Josh's Frogs
Why you should buy from us
Don't Back Down from the Background
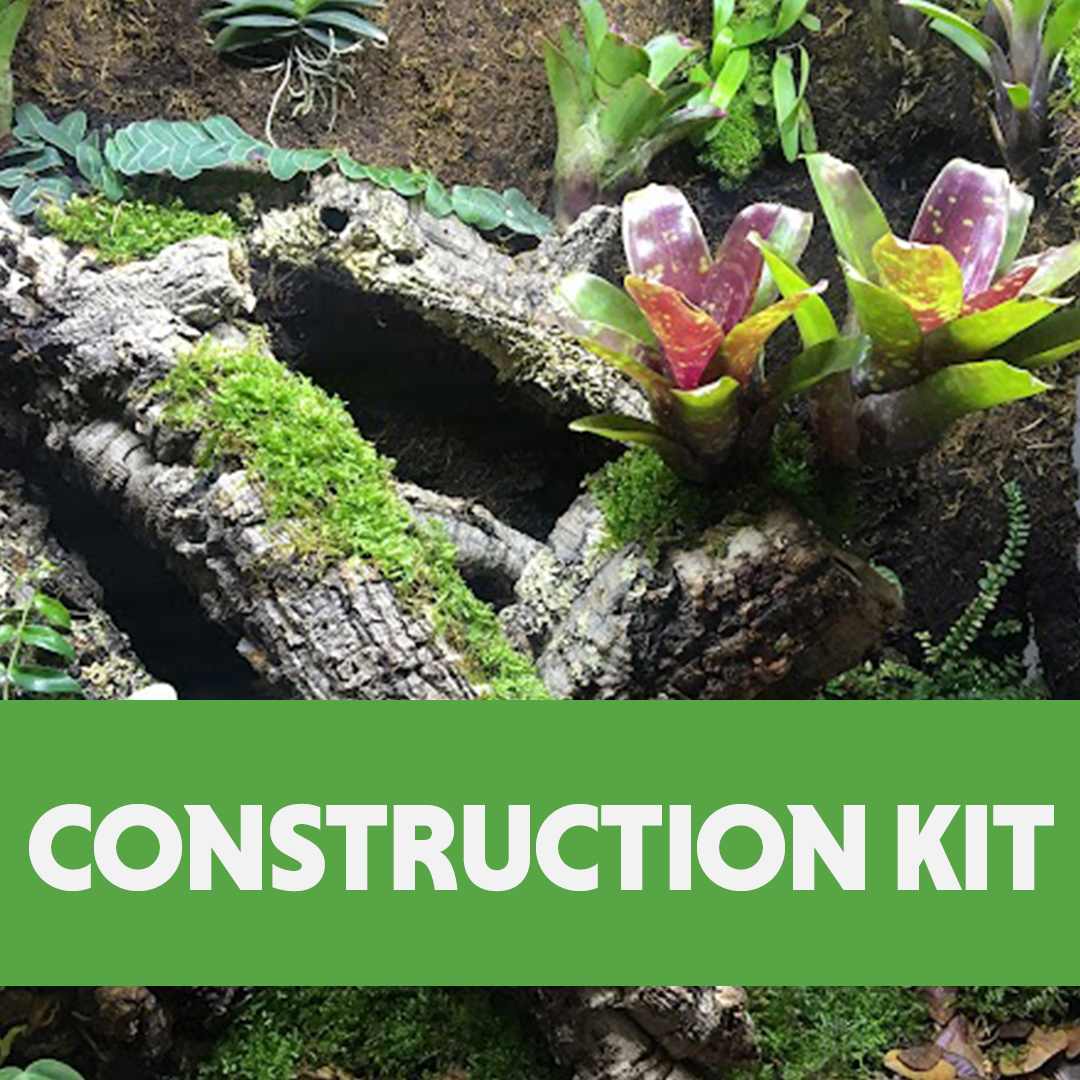
Simple Steps to a Beautiful Vivarium Hardscape
Few things catch your eye like a well-planted vivarium. Mimicking lush jungles, vivaria are fairly simple to set up and maintain, especially with the advent of Complete Vivarium Kits.
One often overlooked aspect of vivarium creation is the construction of a background. We've already touched on this subject with our tutorial on How to Construct a Fake Rock Background, but this blog entry will explore a much simpler, more straightforward approach: making a background out of wood, silicone and spray foam.
Background supplies
There are several supplies you'll need before you get started. The quantities you'll need will vary based on the size of the background you're making, so estimate what you'll need you go shopping. If you want to make it easy, pick up a Josh's Frogs Vivarium Background Construction Kit.
Pick up from a hardware store:
- Caulk gun
- Disposable gloves (latex or nitrile)
Pick up from JoshsFrogs.com:
- Wood (many different kinds are suitable; which to use depends on personal taste)
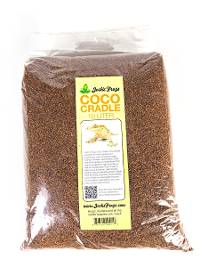
- DRY finely ground coconut fiber (peat moss, ABG mix and tree fern make good substitutes)
- Net pots (not necessary, but they make plant placement much easier in later steps)
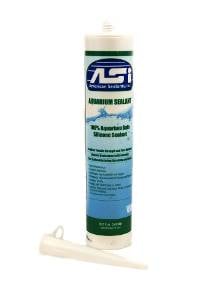
- Vivarium Safe Silicone (10.2 oz.) - black or clear
- Josh's Frogs Vivarium & Pond Build Foam Sealant
You probably already have these things lying around the house:
- Sharp, serrated steak knife
- Drinking straws (only necessary if you're using net pots)
- Shop-Vac or vacuum
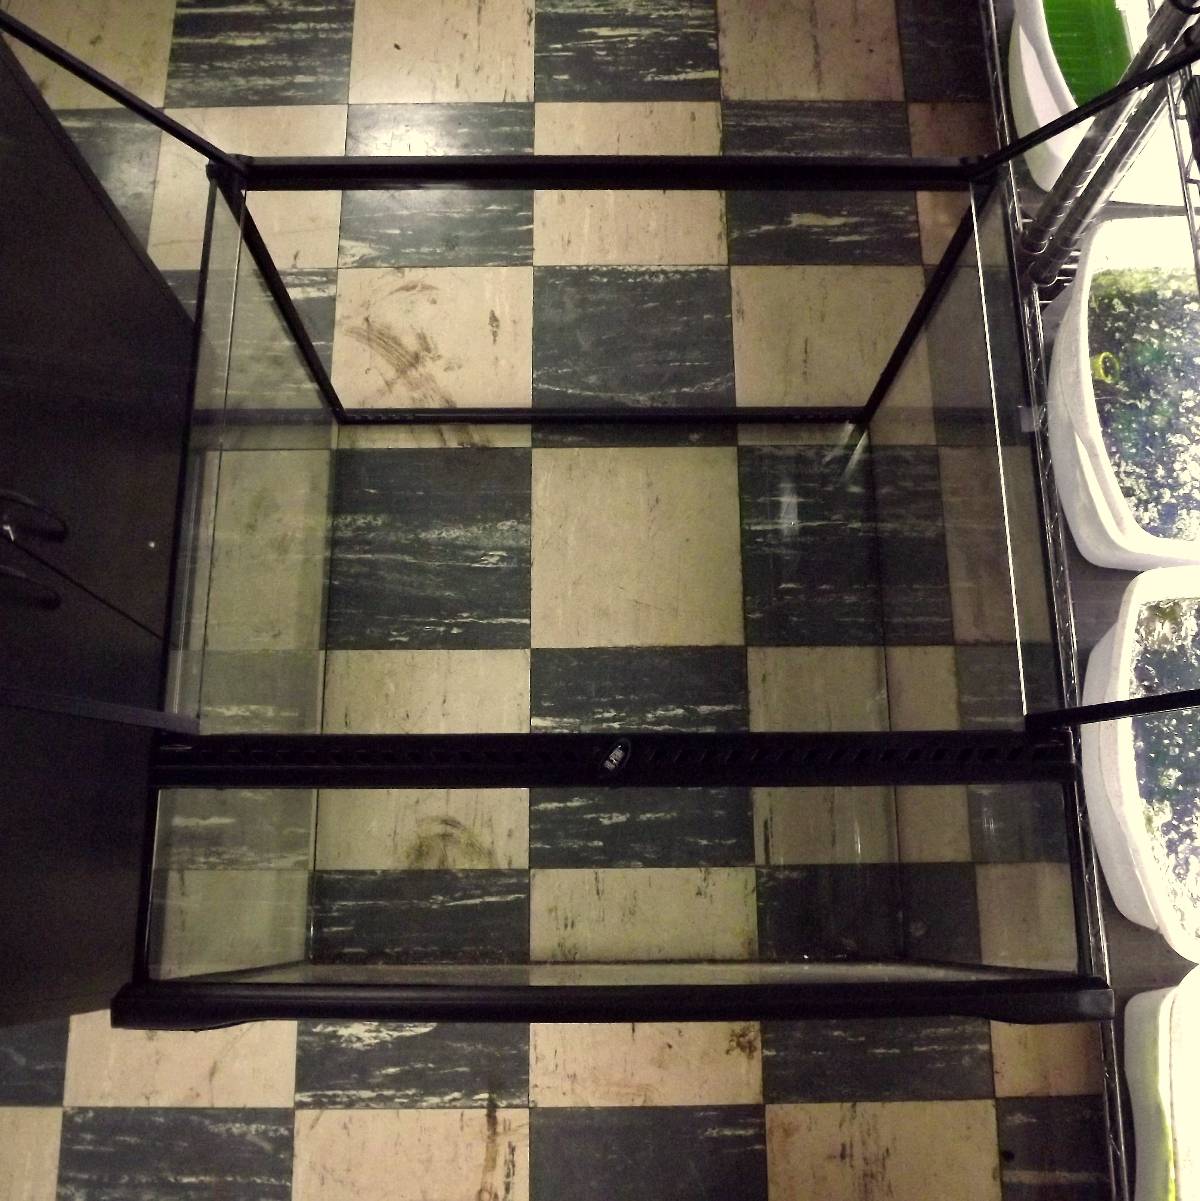
Step 1: Cleaning and Positioning the Tank
Before constructing your background, thoroughly clean the inside of your tank with rubbing alcohol and let it air dry. This will allow maximum adhesion of the spray foam when you use it. For this build, we're using an Exo Terra Glass Terrarium. Lay the tank flat on its back.
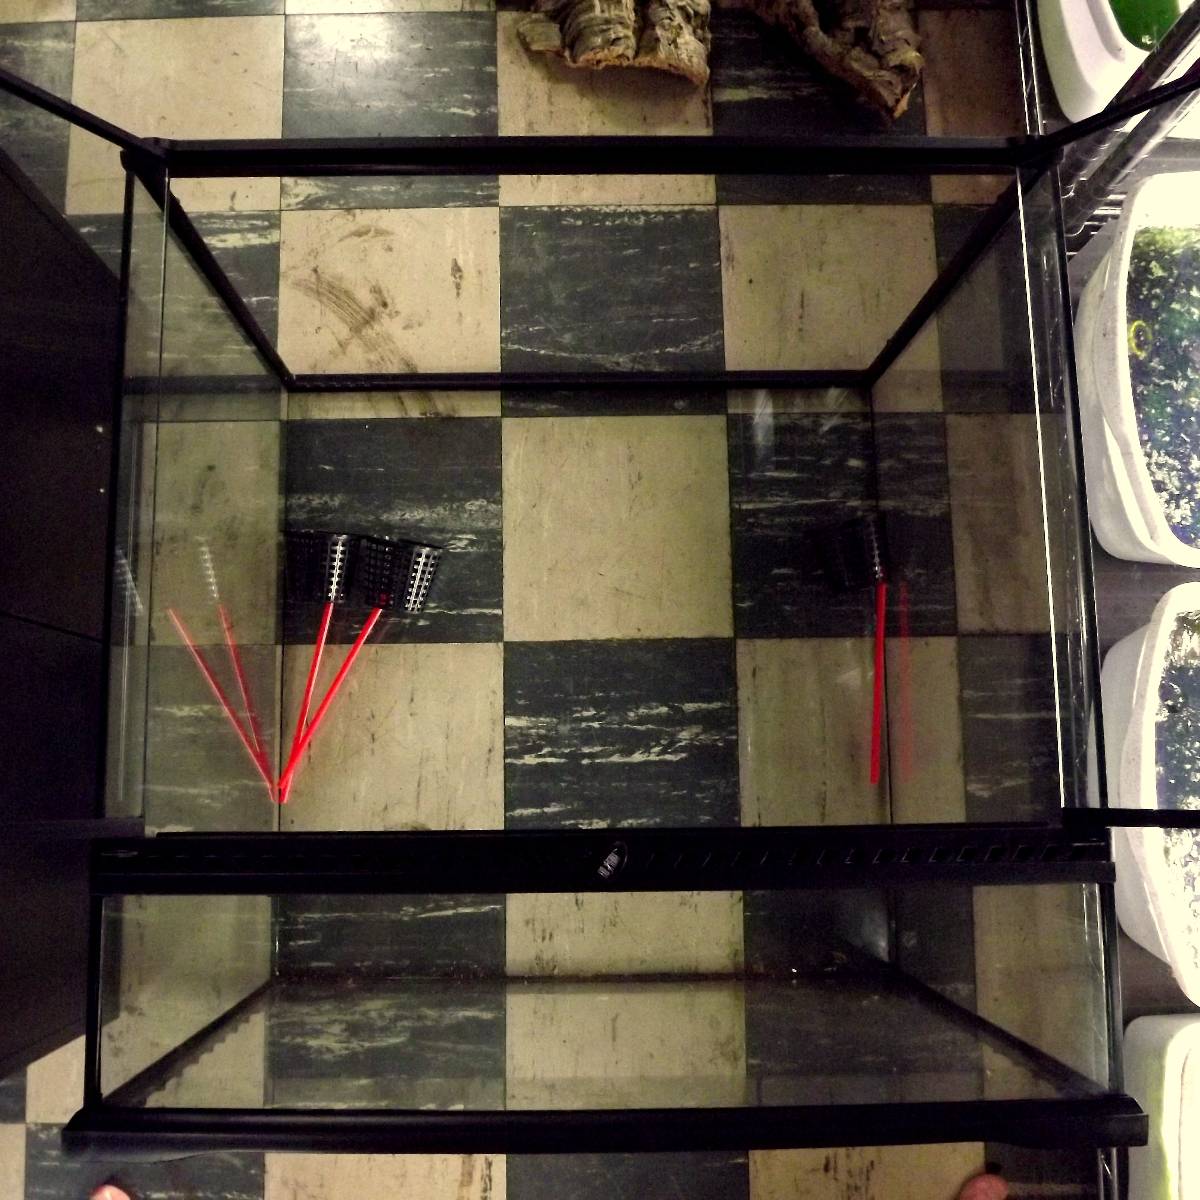
 Step 2: Placing the Net Cups
If you aren't using net pots, disregard this step. Net pots make planting the finished background much easier, and allow the plants to establish much more quickly.
Stick a drinking straw in the bottom of the net pot so any water that accumulates can run out through the straw and not saturate the pot.
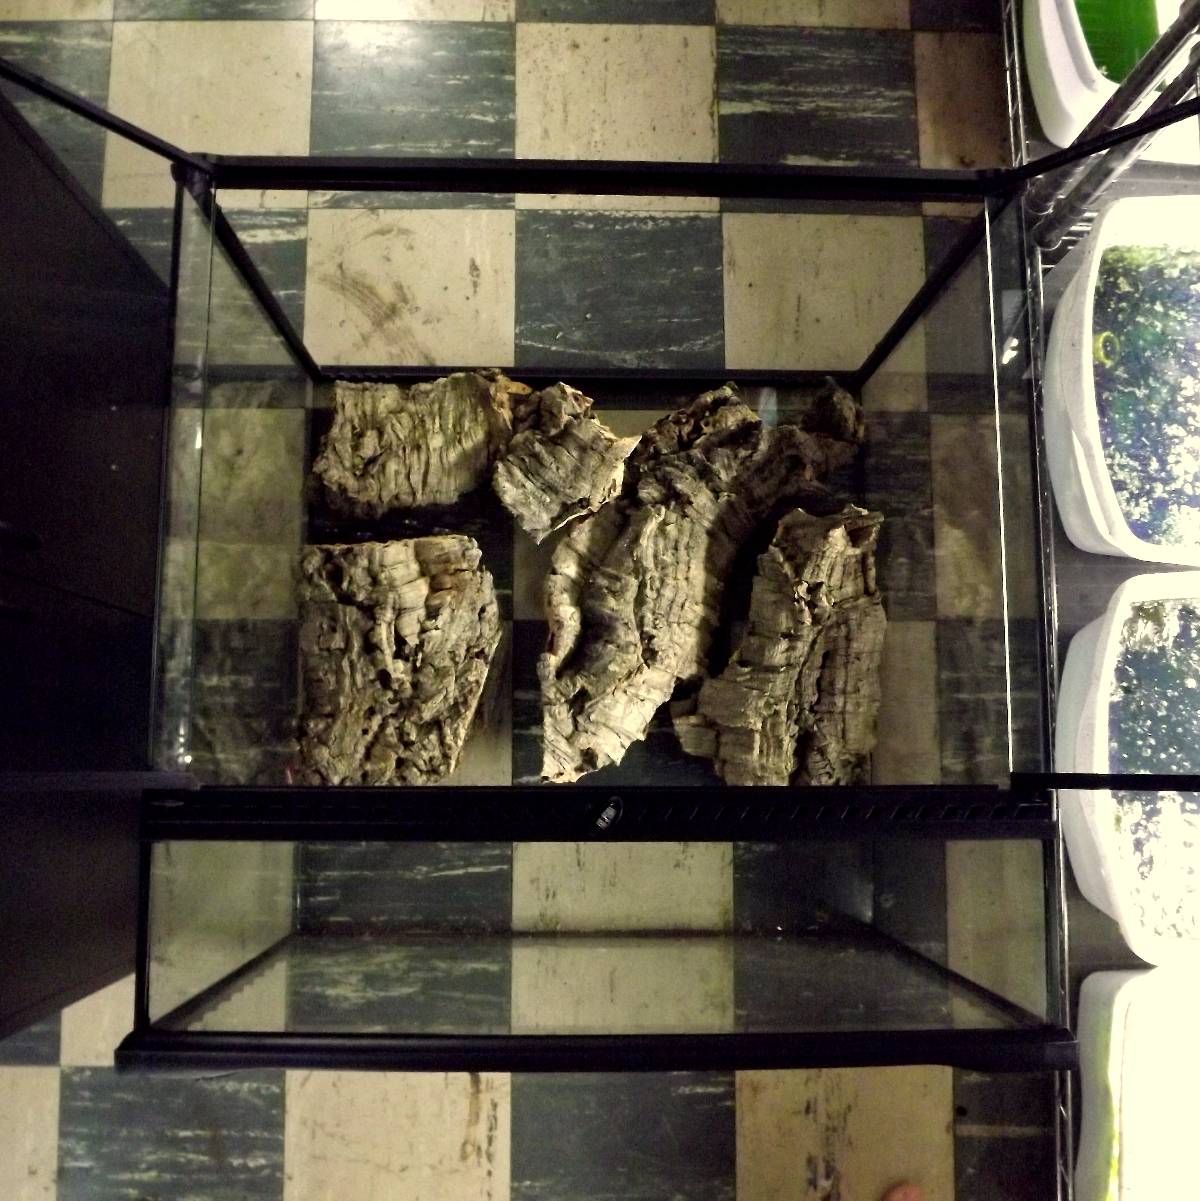
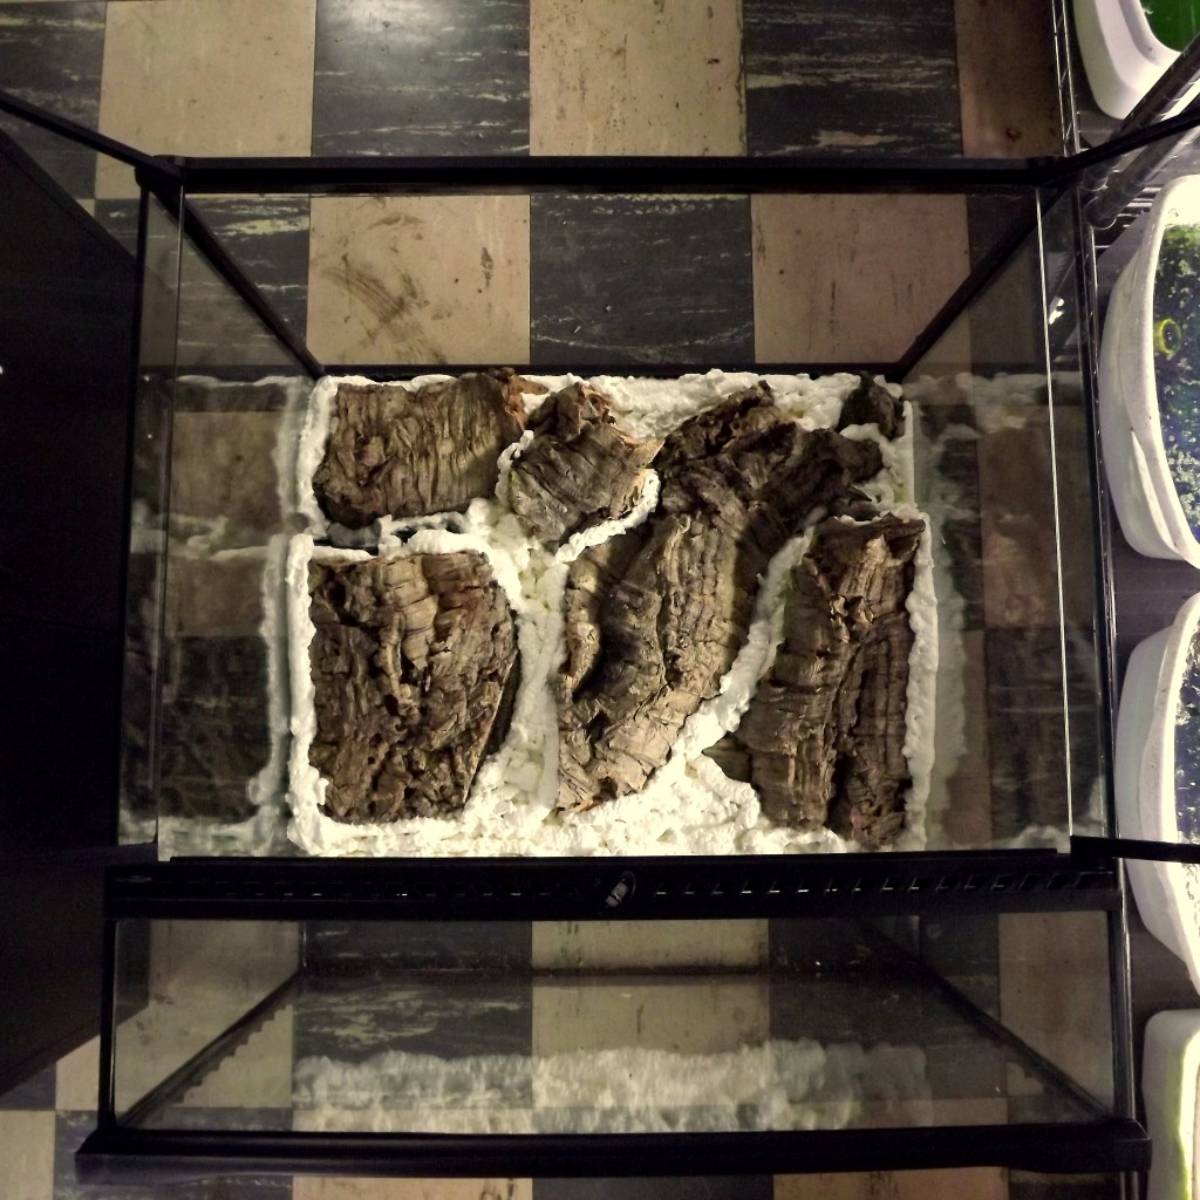
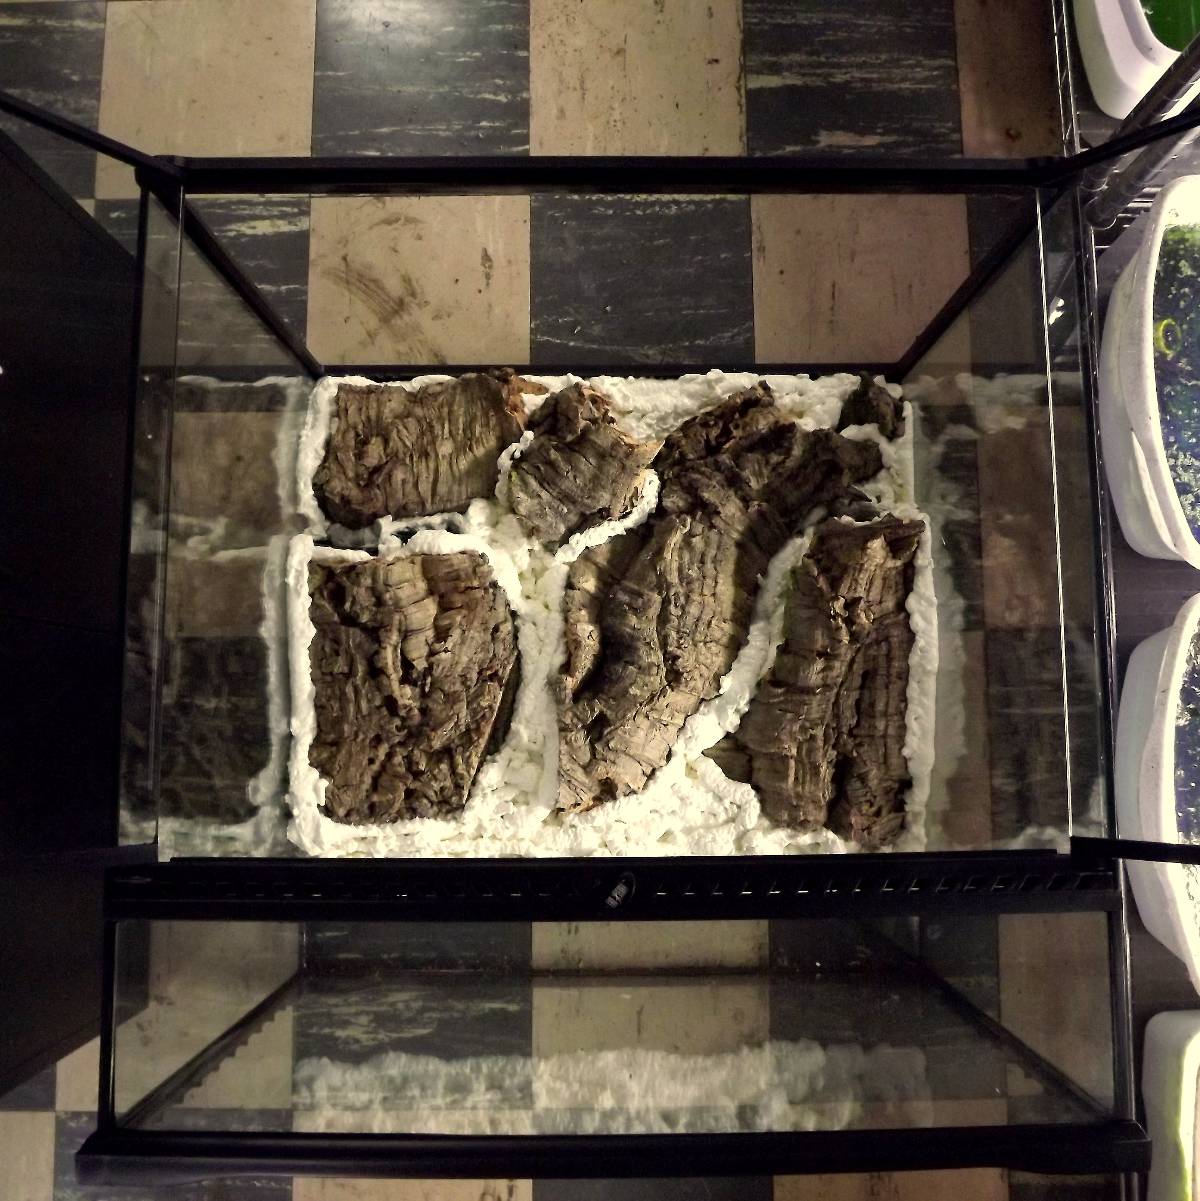
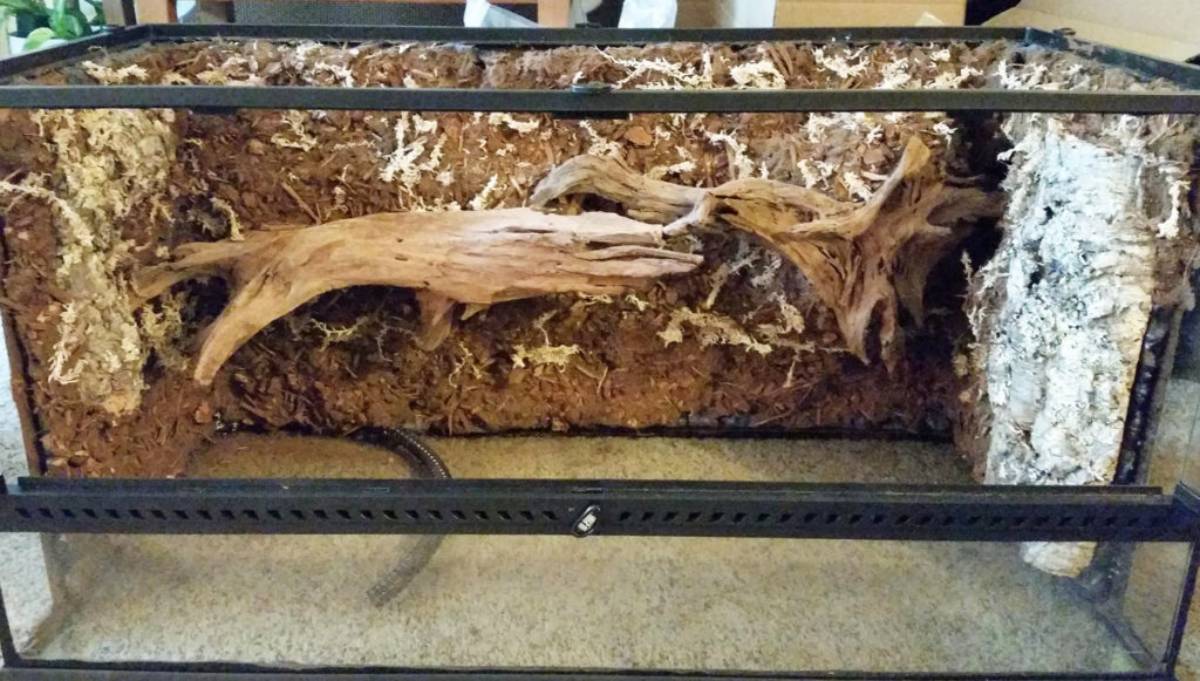
 Step 3: Laying out the Hardscape
Spend some time looking at the empty tank, and positioning the wood how you'd like it.
If using cork flats, lay them flat on the back of the tank, maybe slightly overlapping some pieces to provide visual interest and some depth.
Manzanita, cork, and other vivarium woods can be placed at angles to resemble ledges, stumps, or root formations.
Keep in mind that the bottom four to five inches of the tank will be covered in substrate, so there's no need to extend the background all the way to the bottom.
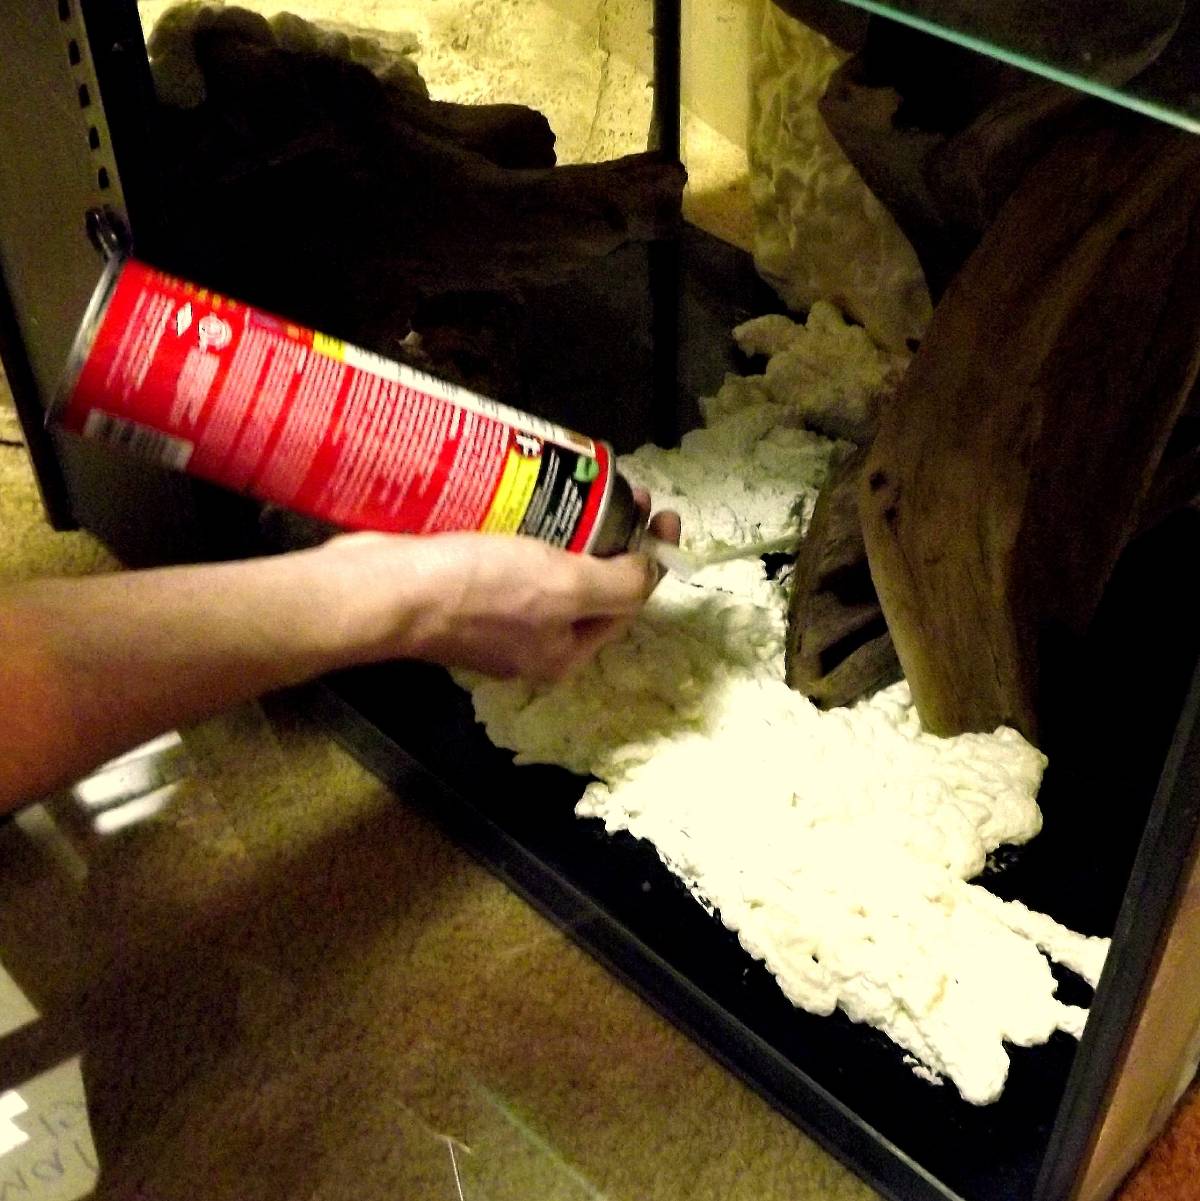
 Step 4: Foaming the Background
Once the hardscape is laid out and the net pots are in place, it's time to use a can of expanding foam to form the background.
It's not a bad idea to wear gloves–if the spray foam gets on your skin, it can make a real mess! Use newspaper or something similar to protect surfaces around the tank.
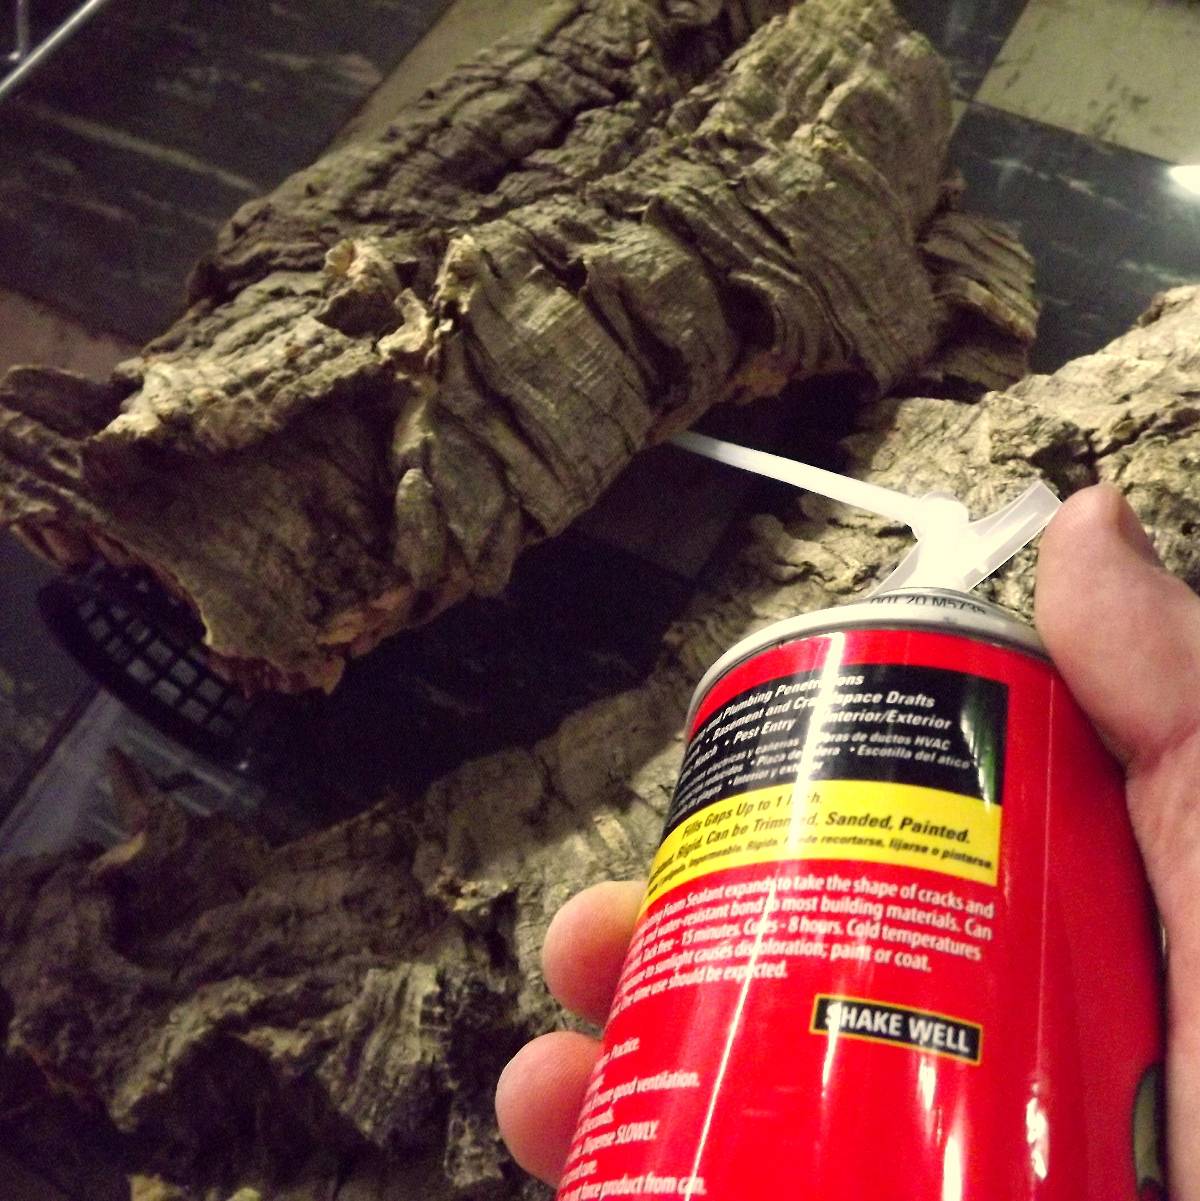 After thoroughly shaking the can of spray foam, apply it in thin layers. Make sure to put it on a little thicker around the base of any wood to ensure proper adhesion. Also, cover the net pots with a thin layer. Do not apply any layers thicker than an inch or so, or they'll take a long time to cure.
 After you apply the foam, let the tank sit for several days until the foam cures. If you put the foam down too thick, it may shrink and pull away from the sides of the tank a bit. If this happens, use more spray foam to fill the gaps.
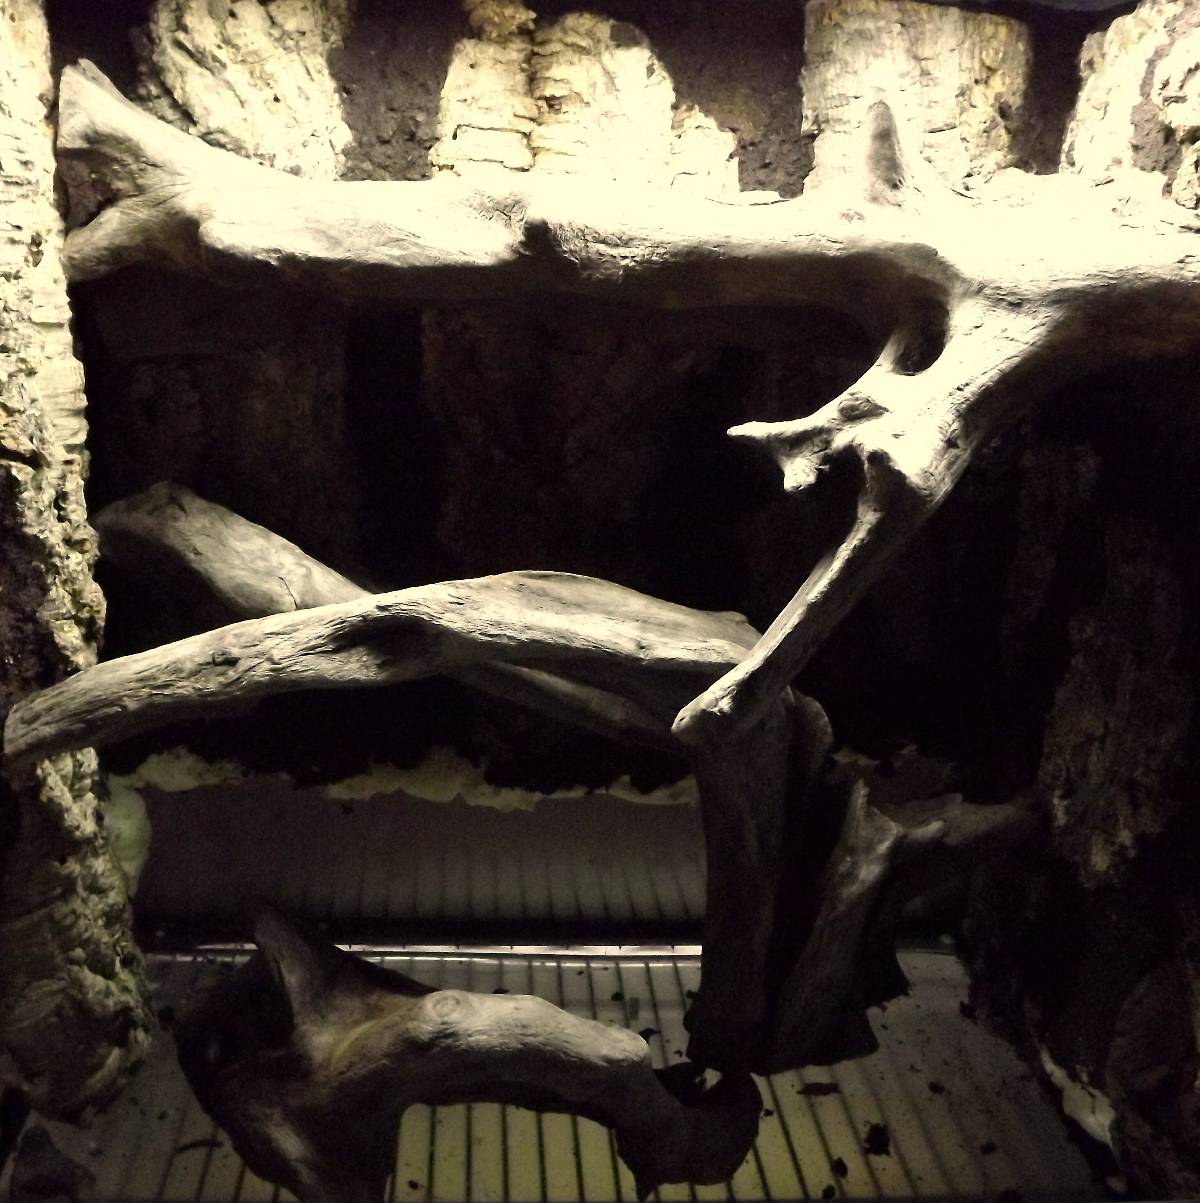
Step 5: Carving the Foam
After the foam has had several days to cure, it's time to carve it. Using the sharp serrated steak knife, carve the top layer of foam so that no smooth surface remains – silicone adheres much better to rough surfaces.
Make sure that you carve the foam in a way to expose the ends of the straws that protrude from the bottom of the net pots, if you're using them. This will allow any excess water to drain out.
Once you finish carving the background, remove any large pieces of excess foam by hand and use a shop vacuum or dust buster to get any smaller pieces out of the tank. These will get in the way during the following steps if they aren't removed.
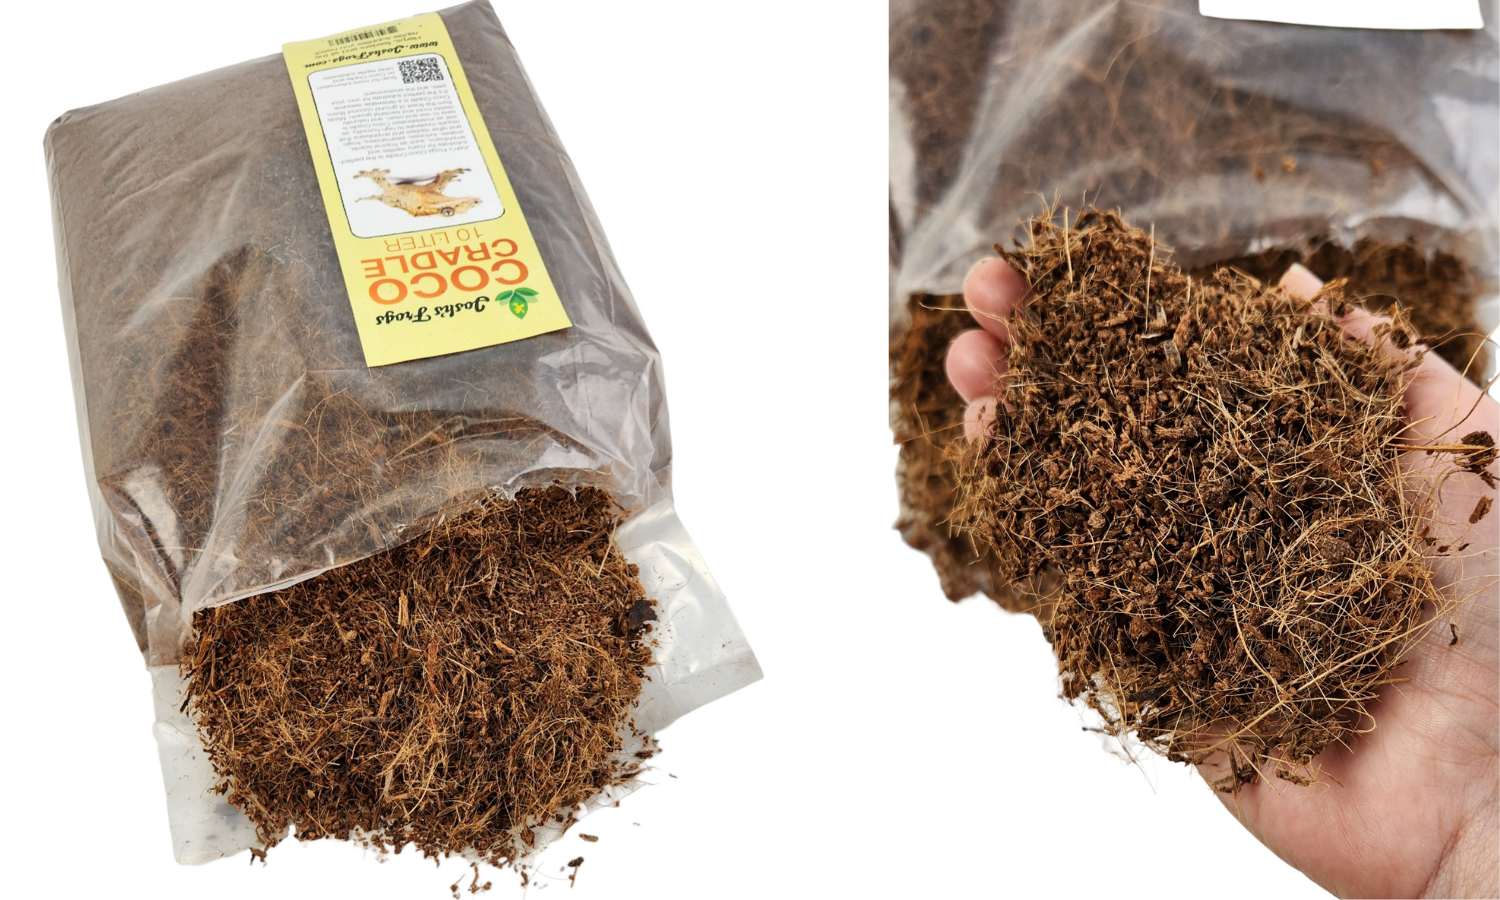
 Step 6: Preparing the Coconut Fiber
Coconut fiber comes in two basic forms: loose in a bag, or compacted in a brick. If the coconut fiber is in the compacted brick form, you'll need to add water to expand it. However, the coconut fiber needs to be completely dry before use. Either air dry it, or bake it on a cookie sheet in the oven at about 175°F.
Step 7: Applying the Silicone and Coconut Fiber to the Background
Make sure to wear gloves during this step!
Place the tube of silicone in the caulk gun, and apply a bit to the foam. Using your (gloved) hand, smear it over the foam, covering it in a thin layer. After you've covered about a 6x6 inch area of foam, press dried coconut fiber into the silicone.
Don't put down too much silicone at one time, or it will dry before you have a chance to press the coconut fiber into it.
Allow the background to dry for 24 hours, then use a shop vac to remove any excess coconut fiber that didn't adhere. If any foam is still visible, go back with some silicone and cover those areas, followed by a layer of coconut fiber.
Typically, the background cures in a few days. Once cured, you can plant it. Make sure There's no vinegar smell from uncured silicone before planting the vivarium.
 Conclusion
That's it! Once a background is constructed you can continue on with layering substrates, panting plants, and introducing animals.
Constructing a background is an often overlooked step in constructing a naturalistic vivarium. Not only does it add to the aesthetic appeal of your enclosure, but it also provides more usable surface area for both plants and animals, as well as visual barriers to help animals feel secure.
Topics in this Blog
Products in this Blog


1-800-691-8178

Our Team
Josh's Frogs ©2020 - 2026 by Josh's Frogs, LLC.