Josh's Frogs
Why you should buy from us
Taylor's First Custom Dart Frog Vivarium - A Step-by-Step Guide
Vivarium Inspiration
Hi everyone,
I wanted to share some step-by-step photos that I took when I built my very 1st vivarium from an Exo Terra 36x18x18 terrarium for my 4 orange Phyllobates terribilis dart frogs. Naturally, all products, plants, and frogs are from right here at Josh's Frogs!
Photo #1:
I took out the standard foam background that came with my tank and put a layer of black silicone on the background and 3/4 of the 2 side panels. I trimmed the edges up using a sharp razor and left 1/4 of the side panels open for more viewing.
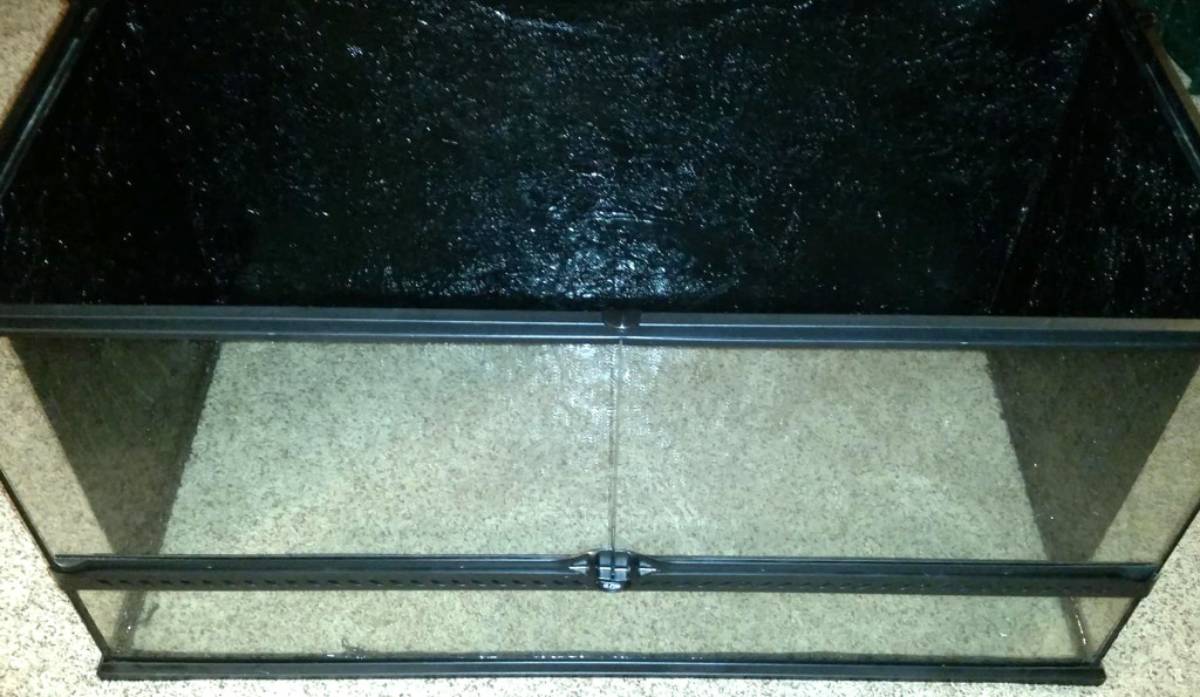
Photo #2:
Using Great Stuff Foam, I foamed in two nice pieces of Malaysian Driftwood on the back of the tank. I specifically chose one of the pieces to utilize as a shelf. As you may notice, I used the black pond foam version instead of the orange, but both will work well.
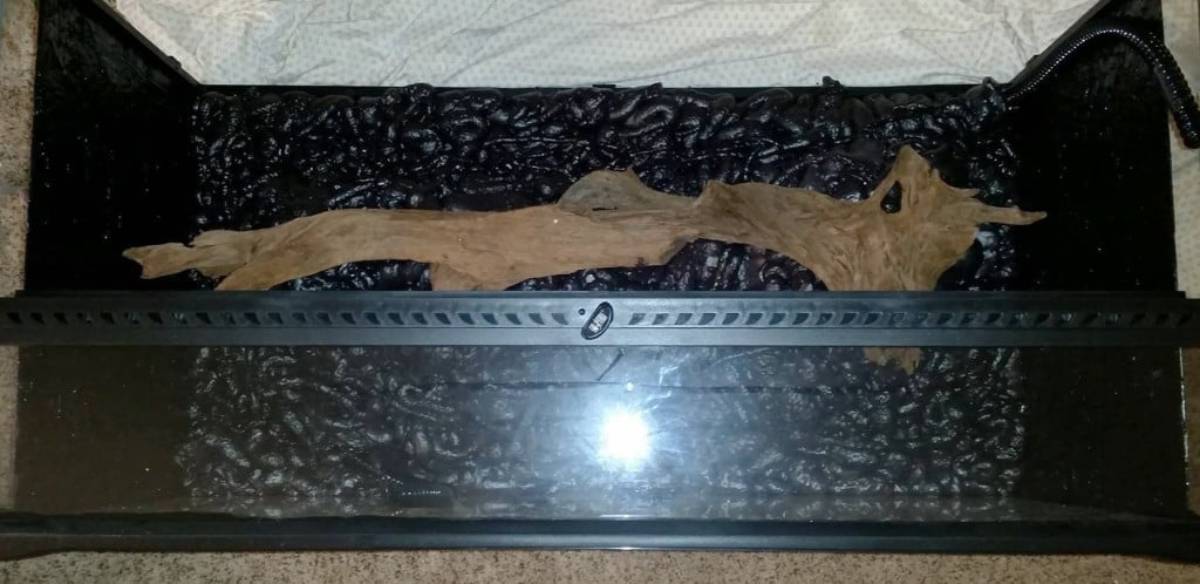
Photo #3:
I foamed in the wood and cork bark to the 3 sides of the tank. The waterfall tubing visible in the background is just in case I chose to incorporate a waterfall in the tank, which I didn't end up doing. They often tend to be more of a hassle than they are worth in the long run and not recommended for a beginner.
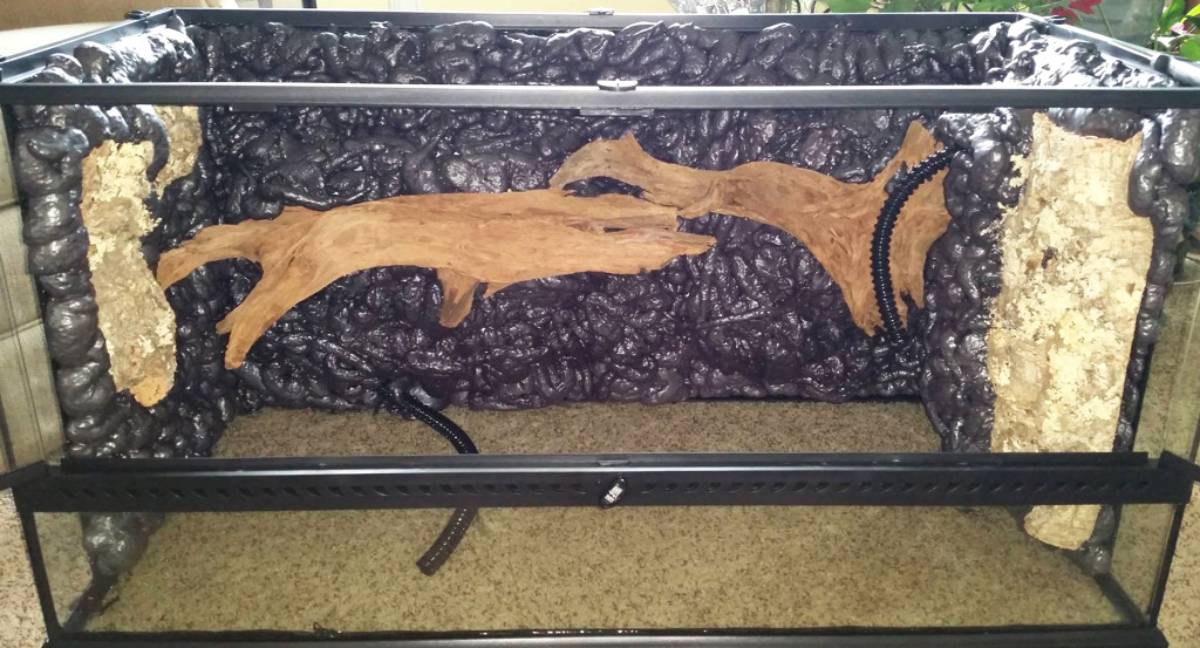
Photo #4:
Once the foam was set, I textured it and trimmed it up to be the thickness that I wanted. As you can see, the foam is no longer smooth and shiny, but rough. It's important to have it textured so that the silicone will stick well when it comes time to adhering the textured materials on the background that will be shown later.
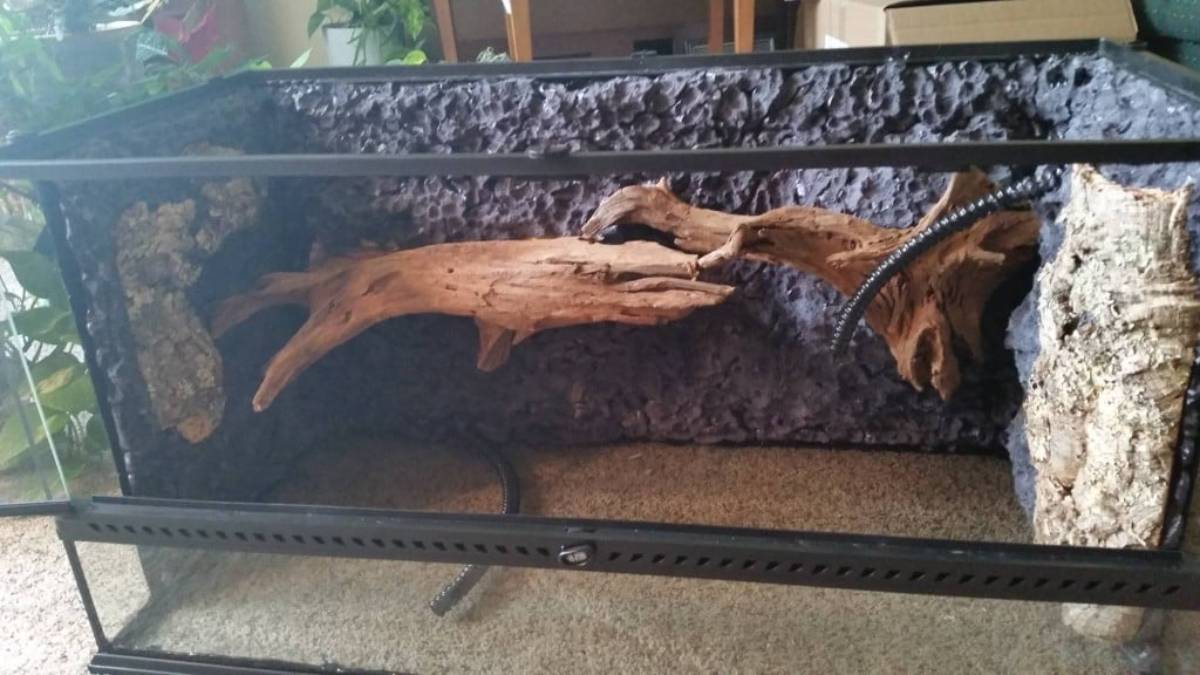
Photo #5:
This top view is to show how I incorporated a piece of the Malaysian Driftwood into serving as a shelf that opens up potential for more dimension while growing plants on, and providing a shaded spot to make the frogs more comfortable.
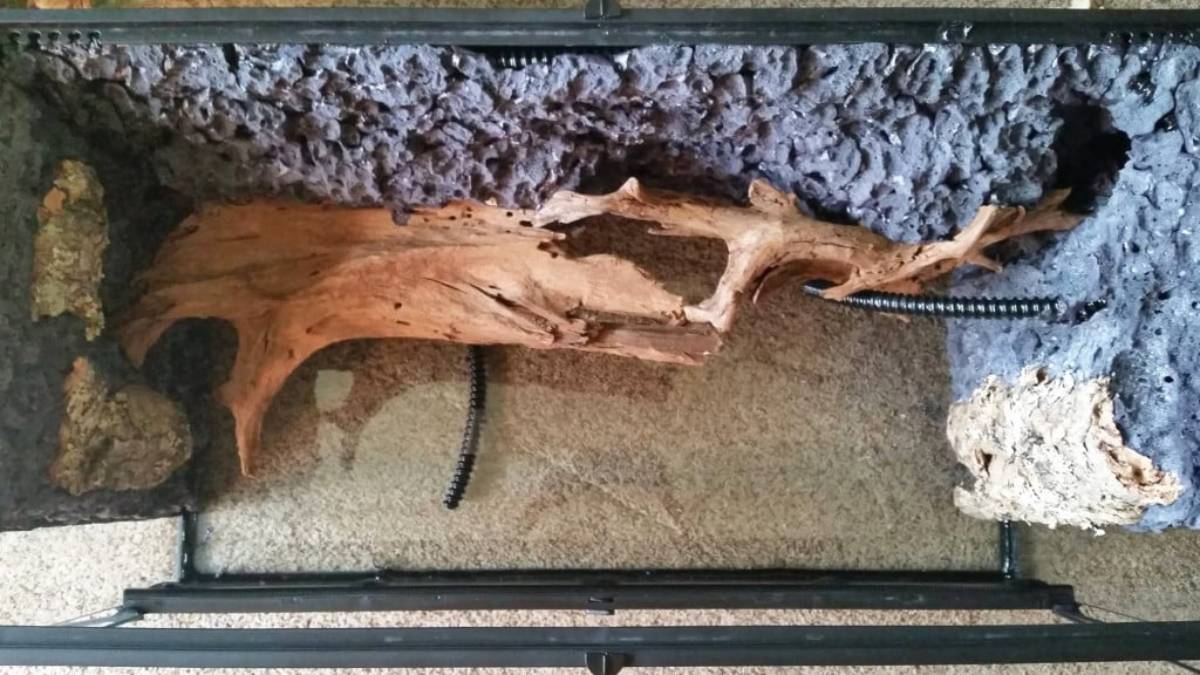
Photo #6:
The custom background is finally all finished and ready to go after adhering cypress bark, coconut fiber and sphagnum moss to it by smearing the black silicone onto the foam and applying an ample amount of these substrates to stick and cure. It is very important that all of the substrates are bone dry in order to adhere correctly. Excess that falls off can be vacuumed away when it is cured and the tank is set upright. You may need to touch up spots that were missed a few times until it is completely finished and ready. I set the tank on its appropriate sides to silicone all 3 sides separately from each other, spanning over a course of a few days. You can also refer to don't Back Down from the Background and Terrarium Construction blogs for more information on constructing your background.
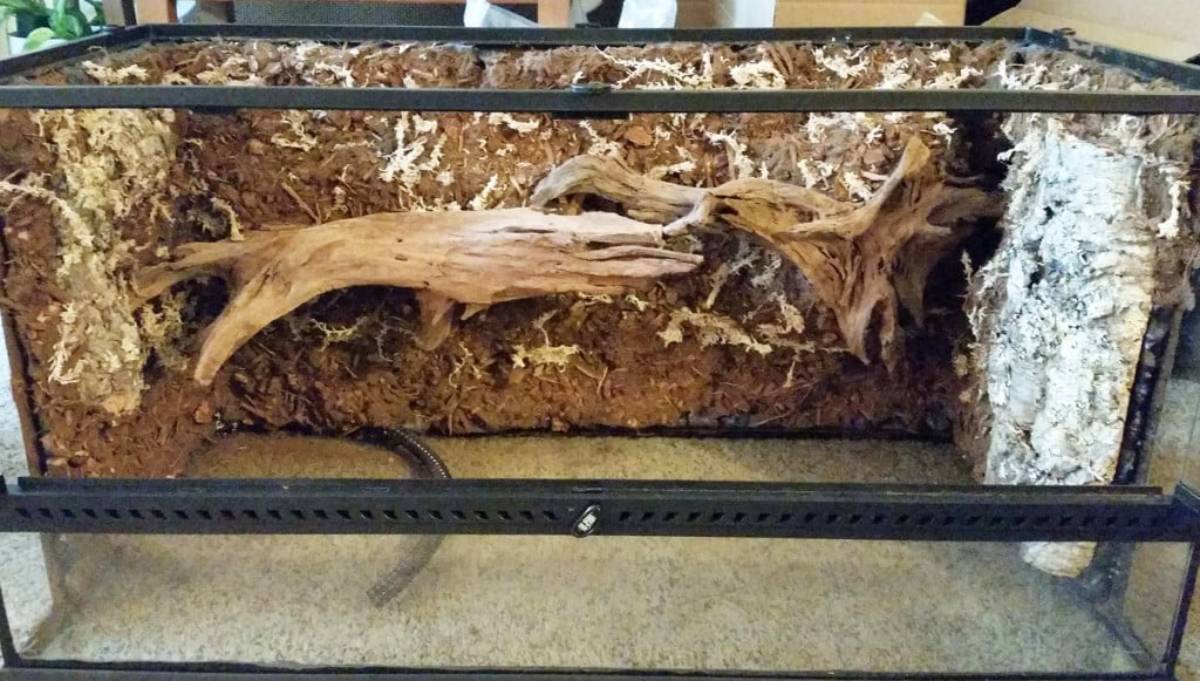
Photo #7:
Proper substrate layers and springtails were added to the tank to get it ready for planting. To learn the importance of how to build the proper substrate layers in a tropical vivarium, you can refer to this blog & video.

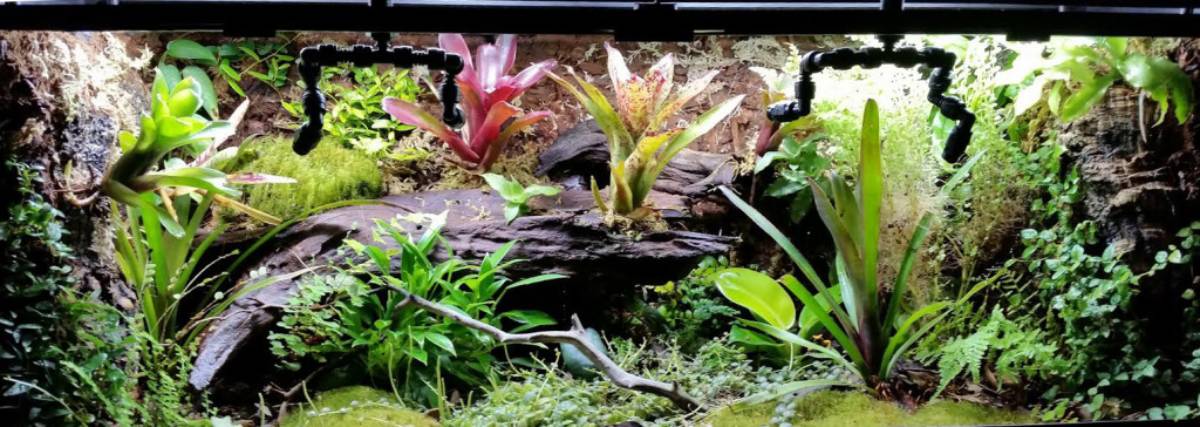
Photo #8:
Being familiar with all of the plants we offer in the plant department, such as their growth habits, size and speed, etc., I selected which plants I wanted. Knowing these plants well, I had in mind beforehand where I would place them inside my tank. I took them home and planted them, with this photo showing the result after a few months of them of filling in nicely. I use Josh's Frogs Green Gro LED lights to keep the temperature down and to make my plants really pop. Coupled with maintaining high humidity using the Mist King, they have also done excellent at maintaining my live mood moss. We conveniently have tropical vivarium plant kits consisting of all easy to care for plants suitable for various sized tanks available on our website.
For more information on how to successfully plant your vivarium, refer to the following blogs/videos:
-How to Plant Epiphytes in a Vivarium
Photo #9:
Here is the same photo from above but with the plants numbered and their names listed below:
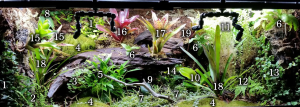
- Ficus punctata ‘Panama’
- Nephrolepis cordifolia ‘Lemon Button Fern’
- Adiantum capillus-veneris ‘Southern Maidenhair Fern’
- Mood Moss
- Philodendron ‘Wend-imbe’
- Cryptanthus acaulis ‘Green Form’
- Peperomia prostrata
- Epipremnum pinnatum ‘Cebu Blue’
- Asarum maximum ‘Ling Ling’ - Panda Face Ginger
- Philodendron ‘Moonlight’
- Pilea microphylla ‘Artillery’
- Athyrium filix-femina ‘Minutissimum’ - Dwarf Lady Fern
- Ficus pumila ‘Minima’
- Marcgravia sp. ‘Shingle Plant’
- Neoregelia sp. Bromeliad
- Neoregelia ‘Chiquita Linda x Fireball’ Bromeliad
- Neoregelia ‘Angel Face’ Bromeliad
- Billbergia sp.
- Neoregelia ‘Chiquita Linda’ Bromeliad
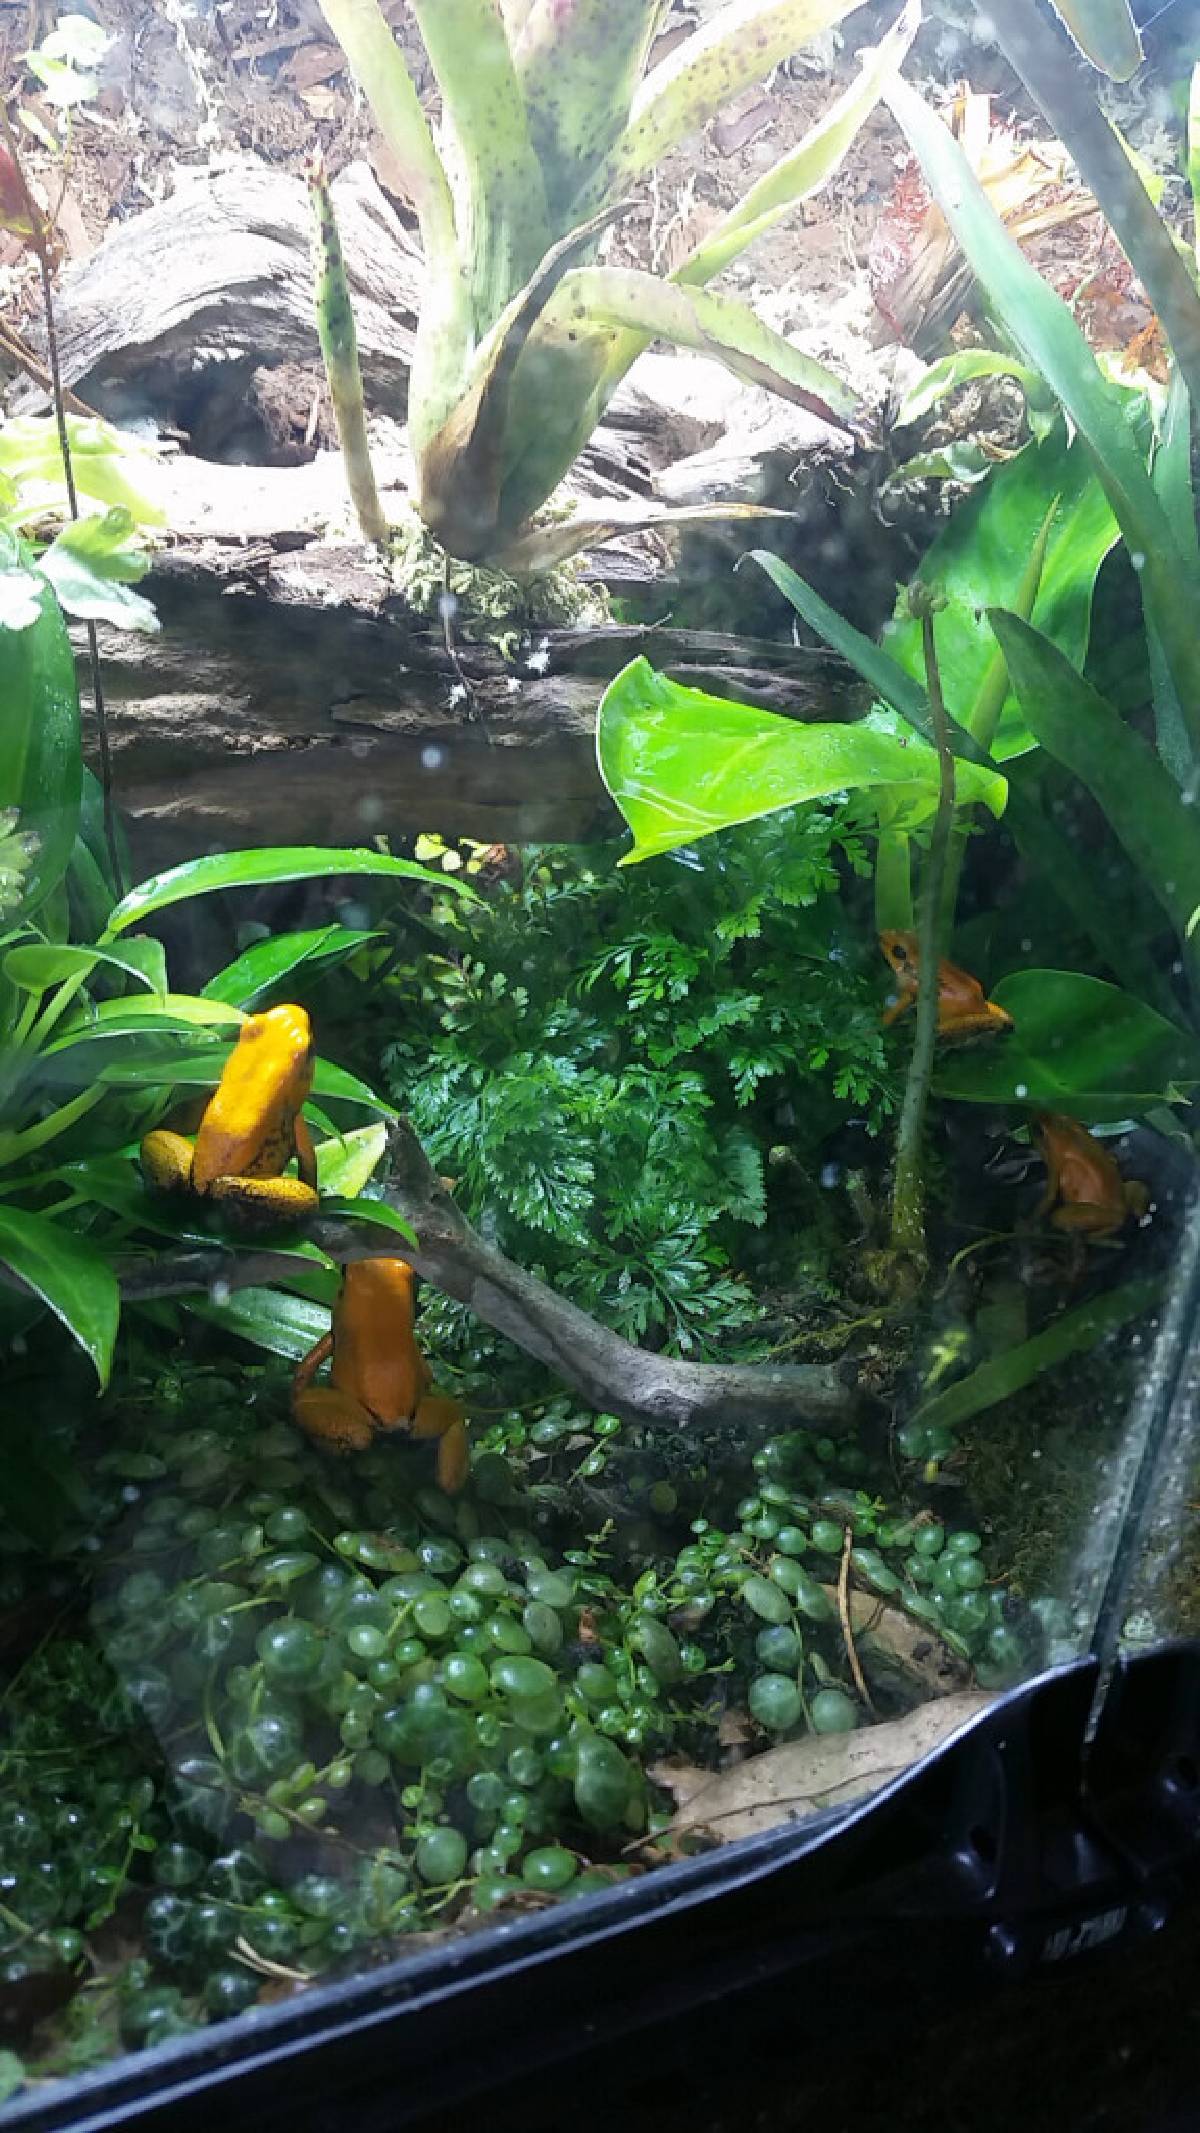
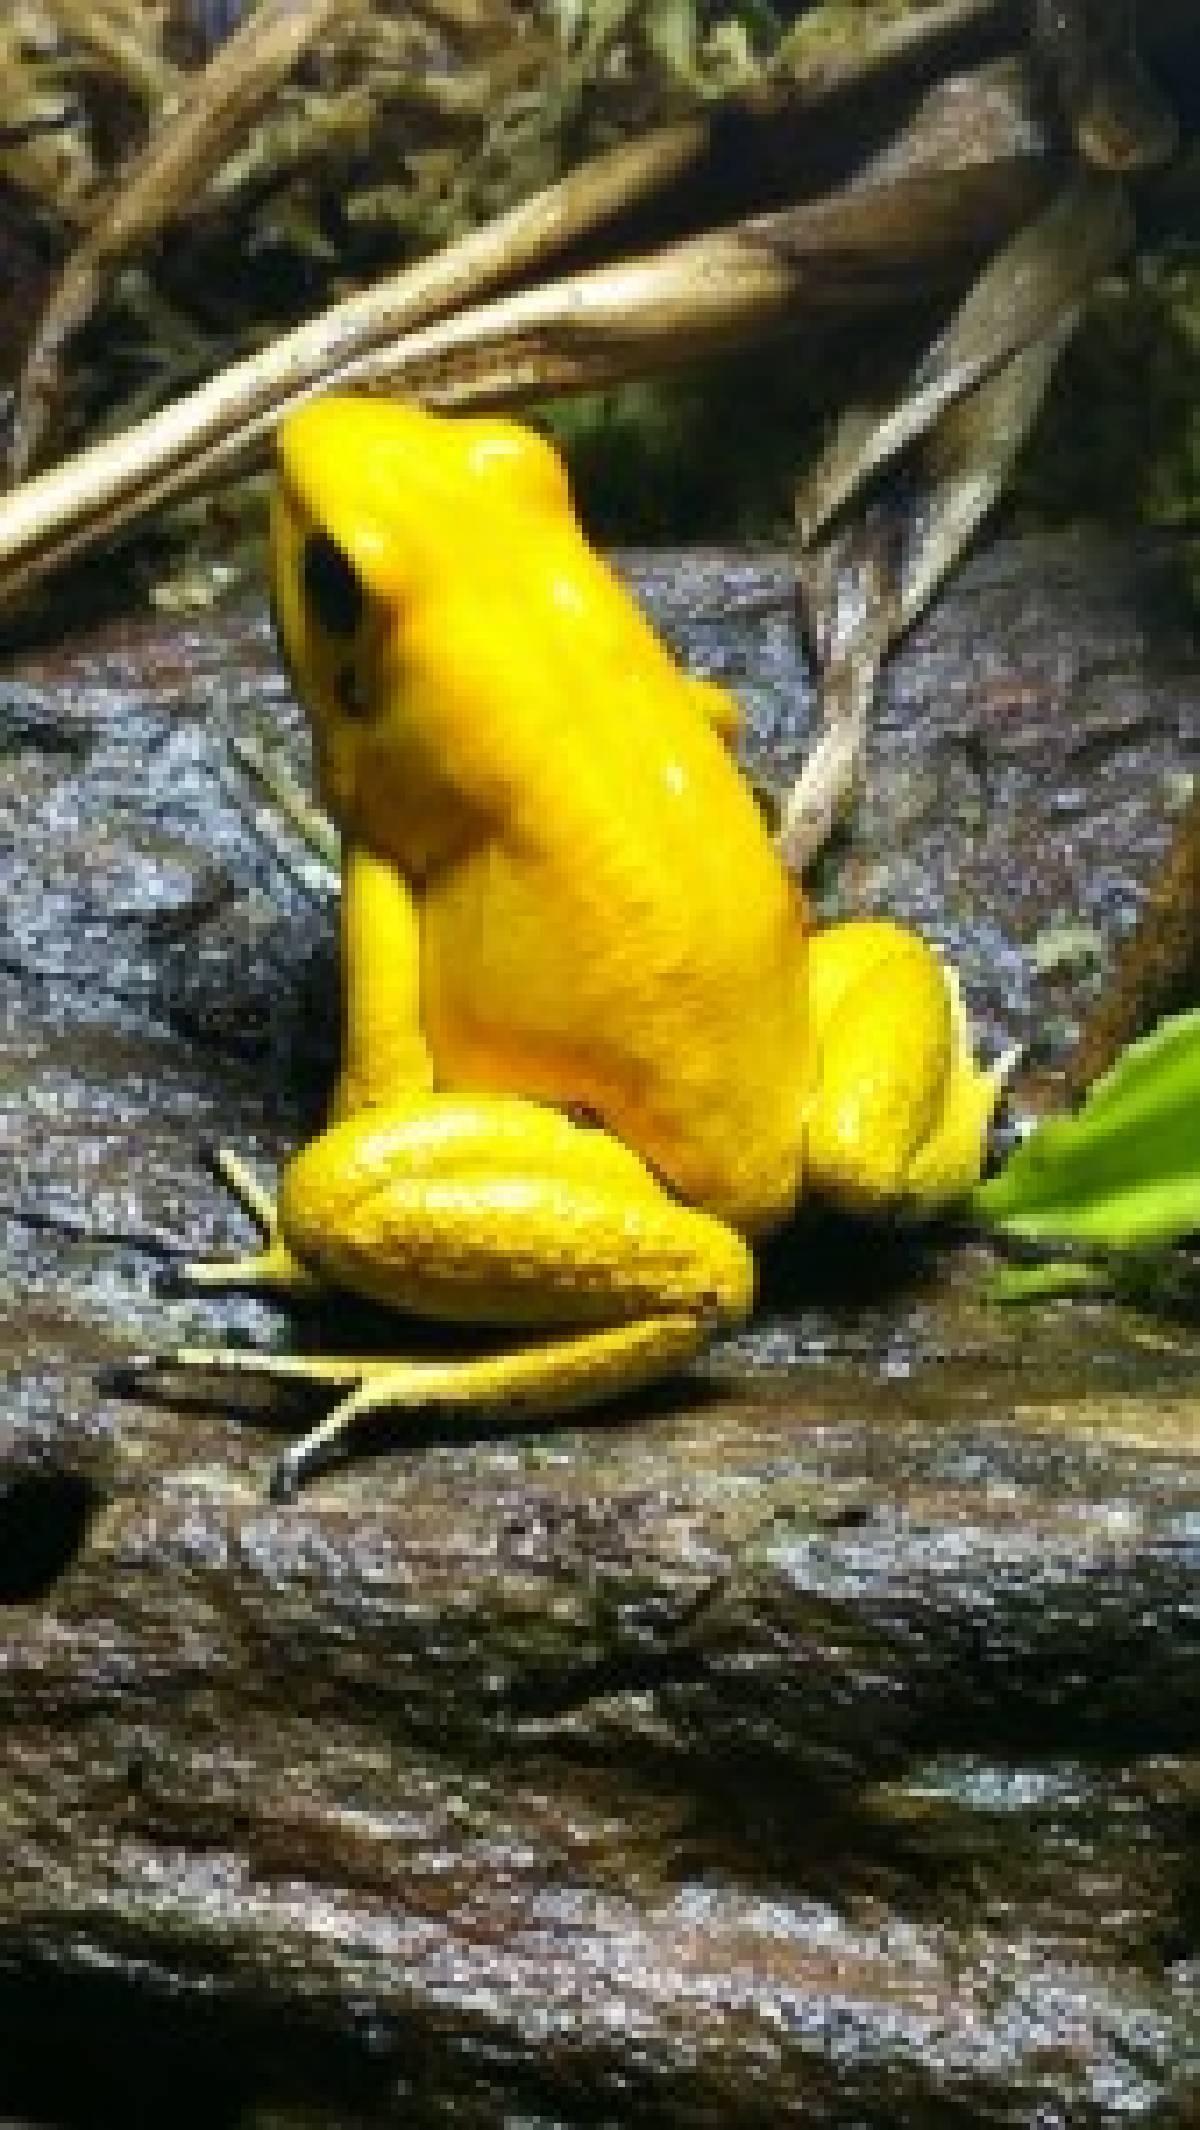
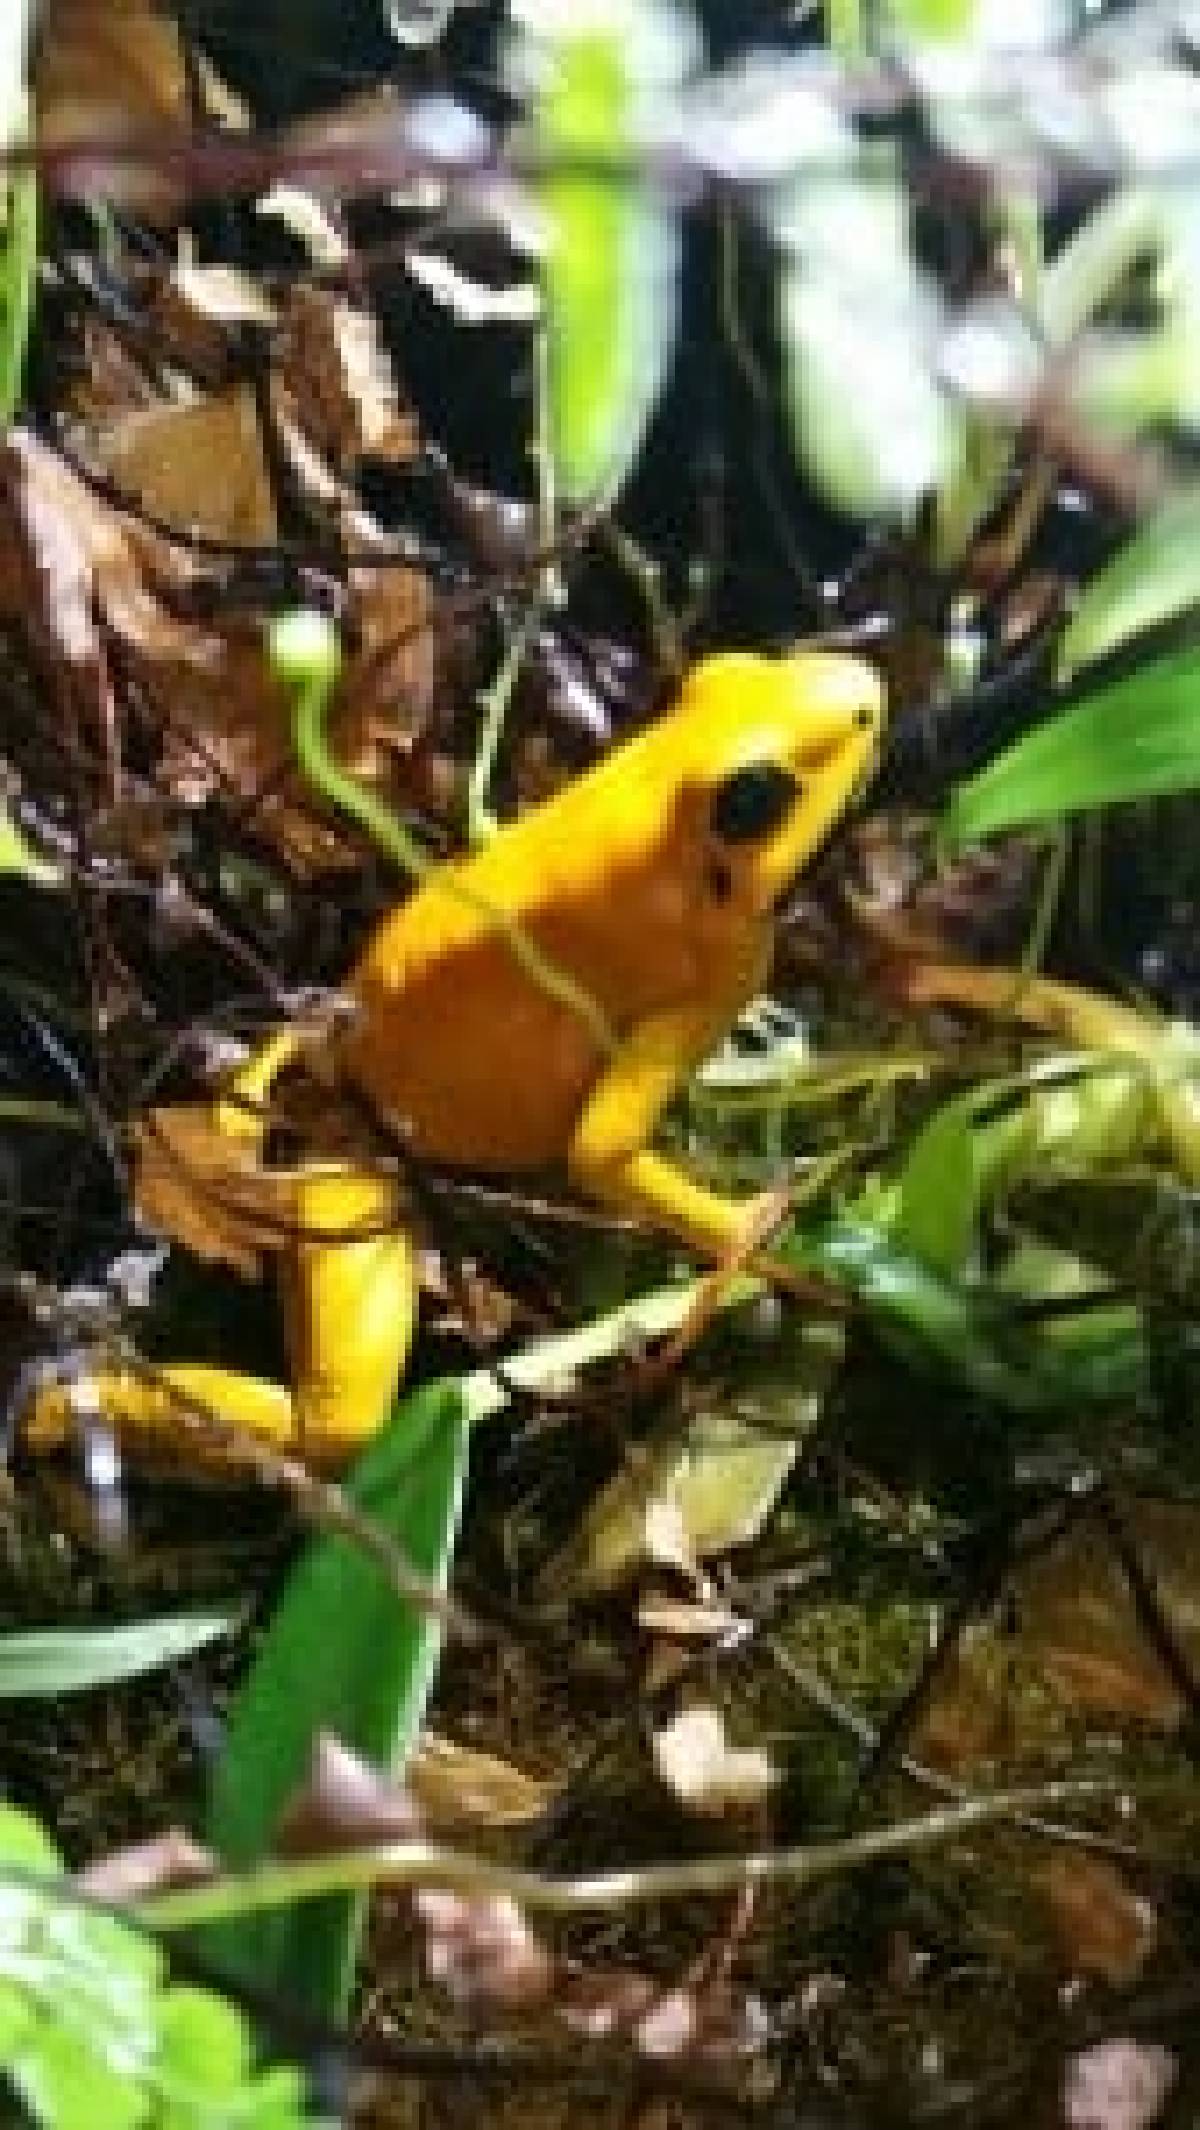
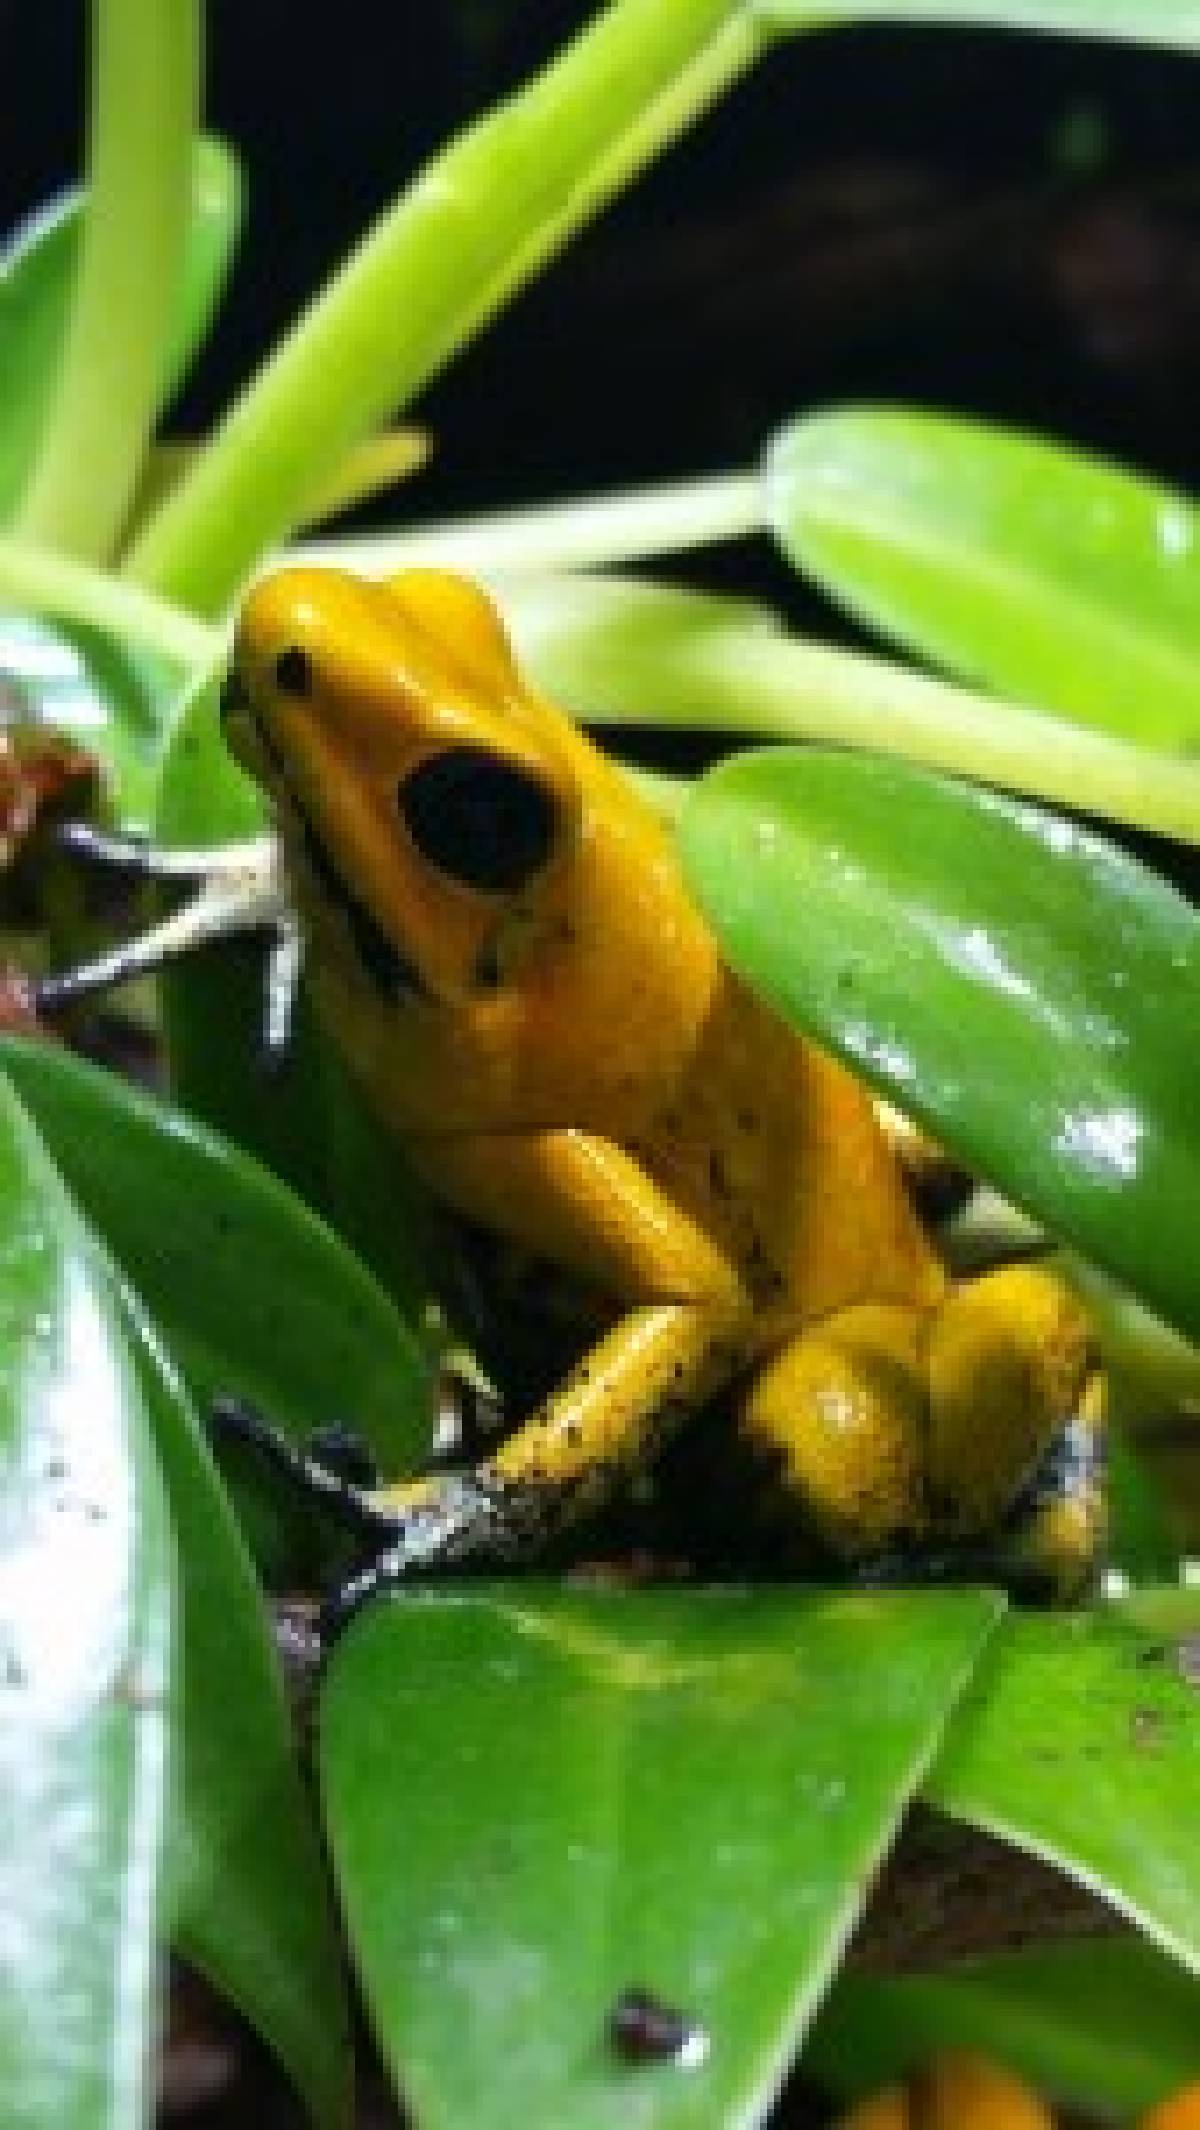
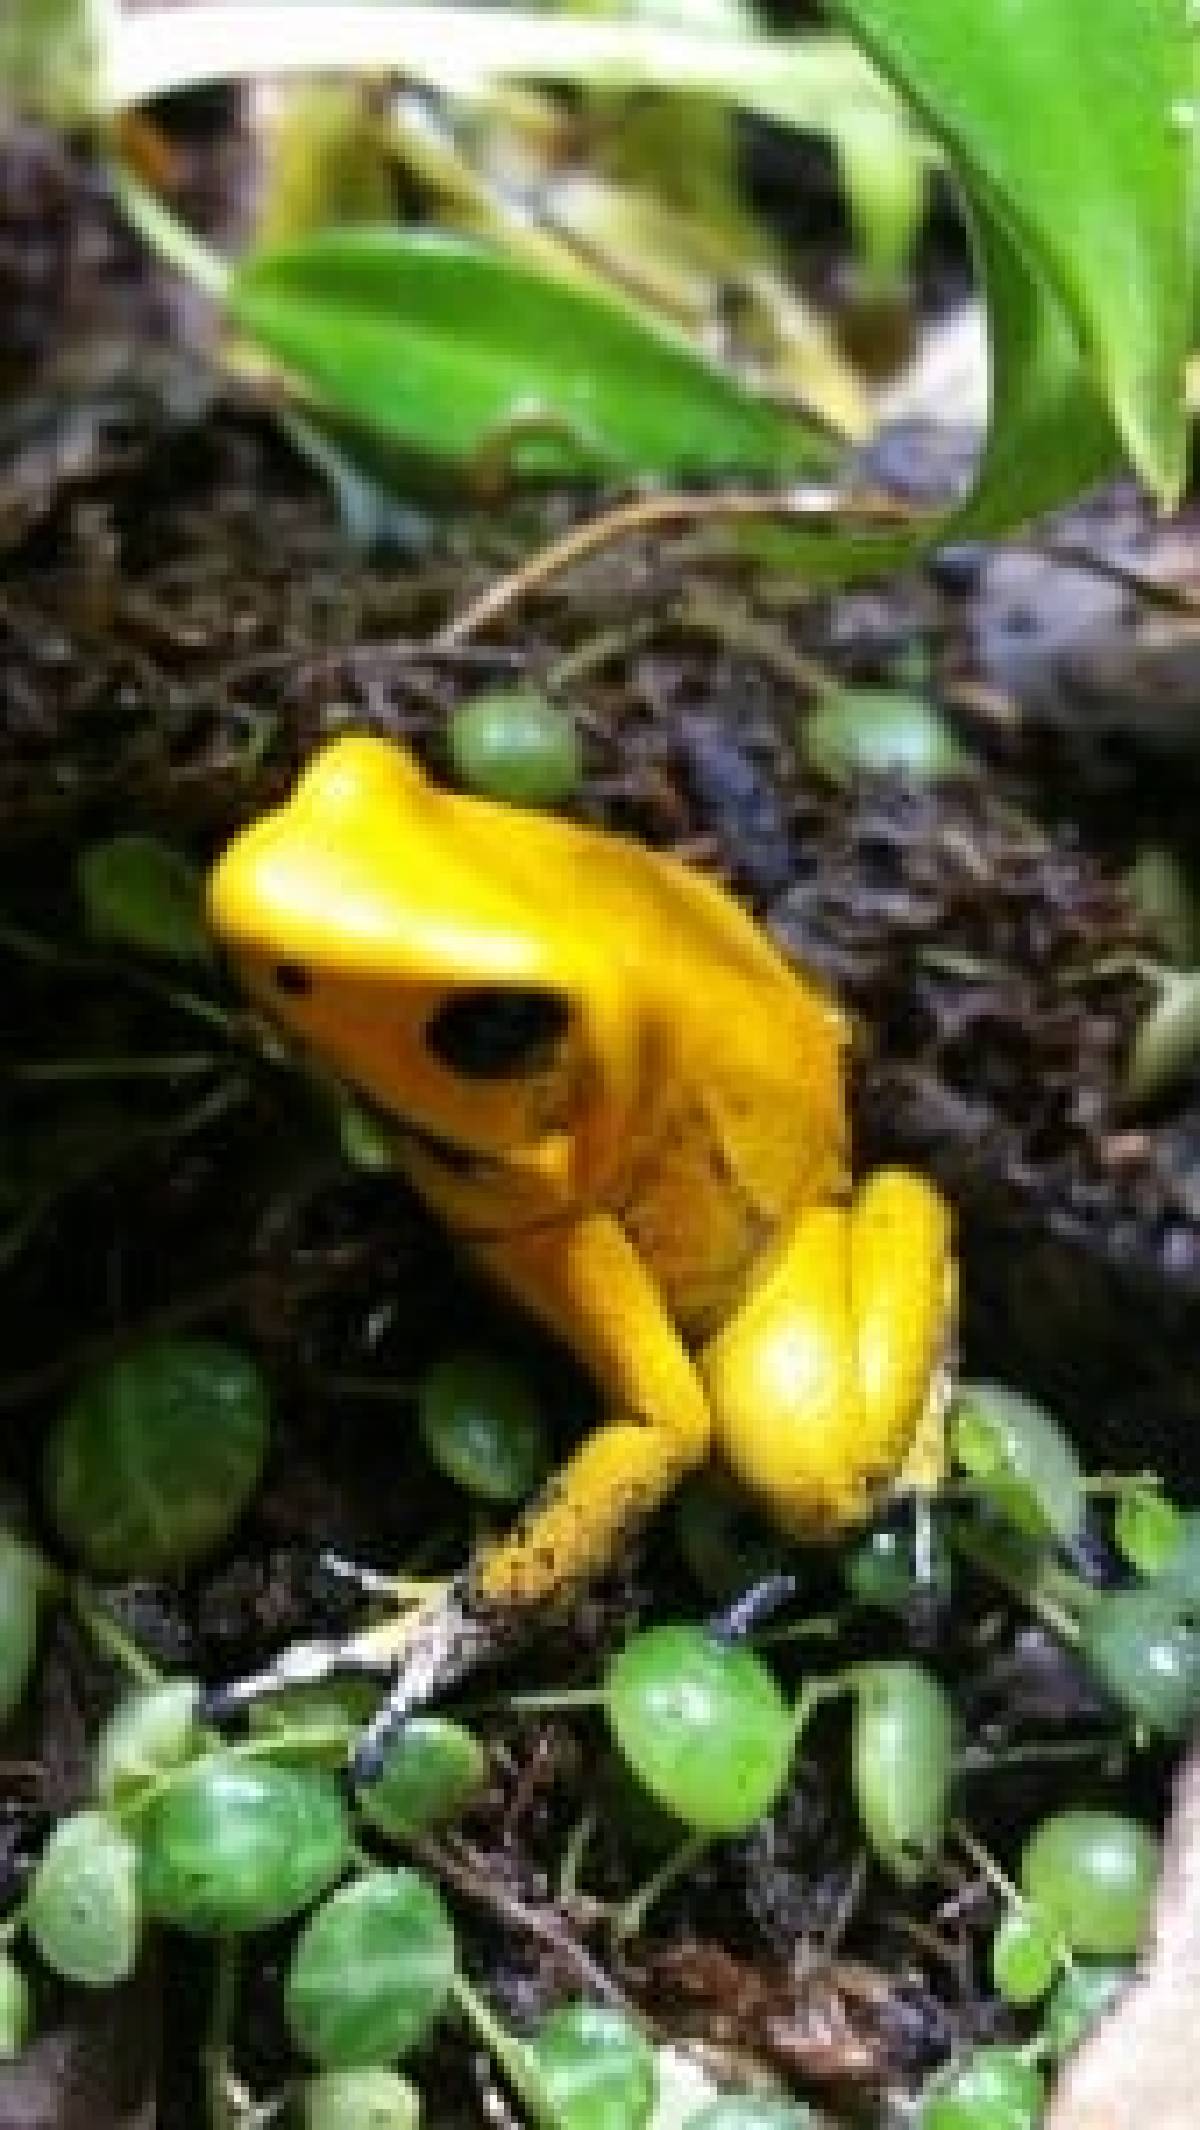
Photo #10:
These are my 4 sub-adult, orange Phyllobates terribilis dart frogs. I chose them as my first dart frogs due to their loud call, bold personality, and ease of care. I also prefer their more “chunky” body build compared to other species. I keep my vivarium humidity at 80% or above and temperatures no higher than 78 degrees, since P. terribilis can be extra sensitive to warmer temperatures.
I hope you enjoyed seeing my project and remember, if you would like to create your own slice of the rain forest, we are a hub of numerous how-to articles and videos via our YouTube channel on this subject. Also, if you have any questions, we are always here for you! Simply send us an email to [email protected] and it will be answered by someone of the appropriate department to ensure that you receive a knowledgeable reply.
Thanks for viewing and happy frogging!
-Taylor
Topics in this Blog
1-800-691-8178

Our Team
Josh's Frogs ©2020 - 2026 by Josh's Frogs, LLC.