Josh's Frogs
Why you should buy from us
How to Make a Rain Chamber
Introduction
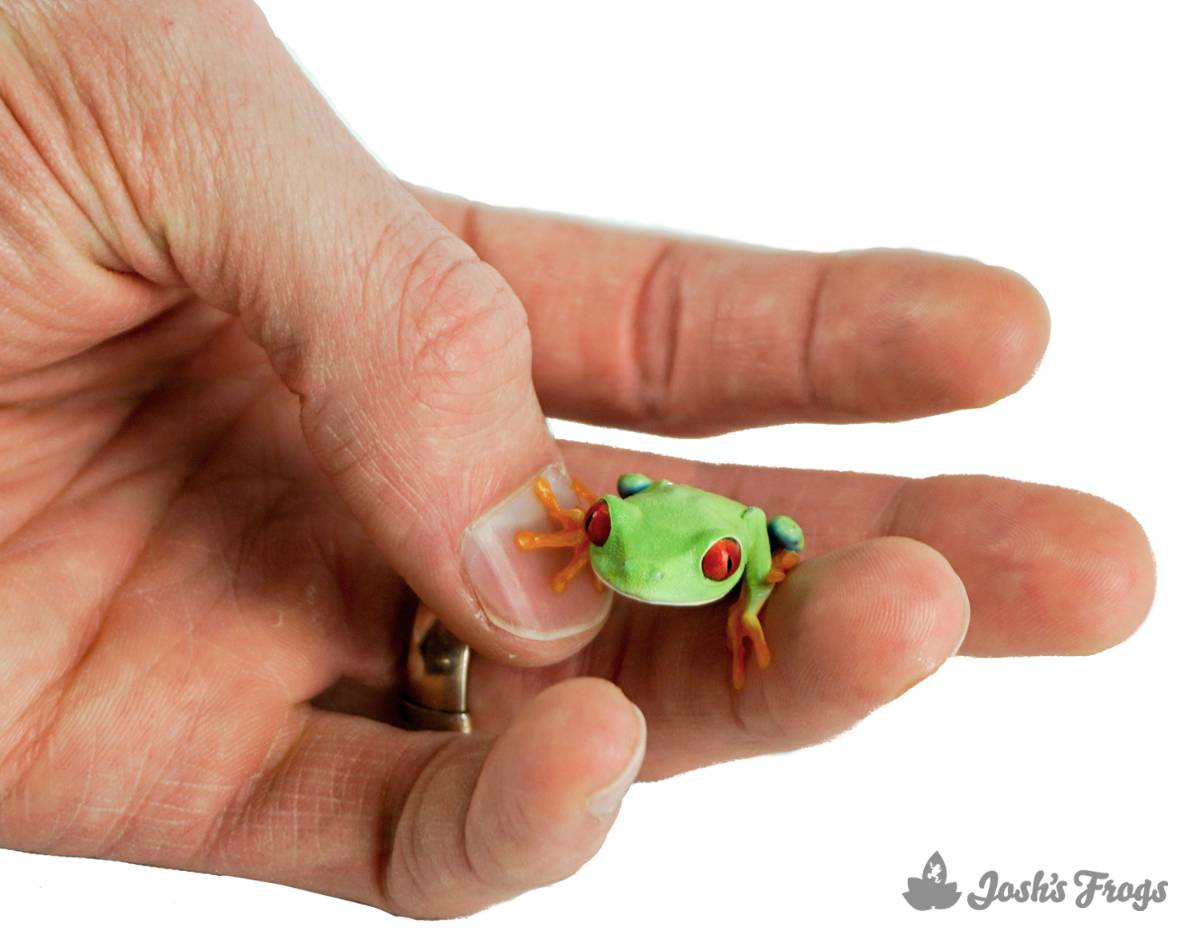
Rain chambers are enclosures used to simulate the rainy season that spurs breeding in various amphibians around the world. Most often, rain chambers are used in the captive-breeding of various neotropical tree frogs, including the ever popular Red-Eyed Tree Frog. This blog post will walk you through what's needed to make your own rain chamber, all with parts purchased from JoshsFrogs.com and your local home improvement store.
Shopping List:
- 1” PVC pipe (about 8 feet)
- 3 - 1” PVC 90 degree elbows
- 4 - 1” PVC Tees
- 1 - 1” PVC 90 degree elbow with threaded female nipple (same size as threaded male part below)
- 1 threaded male (same size as threaded female nipple above) to quick connect fitting (same size as vinyl tubing needed for pump)
- vinyl tubing (size required for pump - about 4 feet)
- 1 water pump with adequate head pressure (at least 4 feet)
- 1 water heater
- 1 large diameter PVC (about 3 feet long)
- 1 plastic utility sink
- 1 ball valve (thread size same as that of drain on utility sink)
- 1 - 18x18x24 glass terrarium
- several (about 12) zip ties
- filter foam (from a fish store)
- artificial plants with large leaves, or a live plant grown and planted hydroponically
Tools Needed:
- tape measurer
- power drill
- drill bit (size doesn't really matter, as long as it's under 3/8” - smaller the better)
- glass drill bit (the larger the better)
- sharp knife
Step 1 – Drill the Terrarium
Using the power drill and a glass drill bit, slowly and carefully drill several holes along the front of the glass terrarium, about an inch below the vent below the doors. Constantly spray the glass with water while drilling–this will minimize the chances of breaking the glass. If this is your first time drilling glass, I'd recommend either practicing on glass beforehand, or asking someone with experience drilling glass to do this step.
After the holes are complete, make sure you wash all the glass dust out of the terrarium. Alternatively, this step can be skipped and the vent below the door of the Exo Terra glass terrarium can be used as a water outlet, as long as the vent is positioned below the top of the sink basin, while the doors are above the top of the sink basin.
Step 2 – Prep the Utility Sink
Measure the depth of your utility sink. Cut the large diameter PVC into 4 pieces that are each 7 inches shorter than the depth of the sink. Position the PVC pieces in the corner of the sink, so that the glass terrarium will be supported by the PVC pieces when the terrarium is put in the sink. Screw the ball valve onto the threaded drain of the sink, and position it in the 'OFF' position.
Attach the hose to the pump, and place it in the bottom of the utility sink, with the hose hanging off the side. Place the heater in the bottom of the utility sink, set to a temperature of 76-78°F. Do not plug either in.
Step 3 – Build the Rain Bar
Now it's time to create the rain bar, which will dispense water into the rain chamber and stimulate your amphibians to breed. Cut your 1 inch PVC pipe into 4 -12 inch lengths and 6 - 3 inch lengths. Then, assemble the 1 inch PVC pieces (red) together using the elbows and tees (blue), as shown in the figure below. The elbow with the white circle in it is the 1 inch PVC 90 degree elbow with threaded female nipple.
 Keep in mind that the 1 inch PVC 90 degree elbow with threaded female nipple will need to be oriented upward and towards the back of the rain chamber. Using the drill, drill small holes 2-3 inches apart along the bottom side of the 1 inch PVC lengths, to allow for even distribution of water.
Step 4 – Mount the Rain Bar
Remove the screen top from the glass terrarium and place it upside down on the floor. Towards the back corner, about 2 inches from the back and side, use a sharp knife or scissors to make a hole in the screen big enough for the threaded female nipple to fit through. Push the nipple through, and use the zip ties to affix the rain bar to the screen top, so that the rain bar is attached to the bottom of the screen top, and will be inside the rain chamber once the screen top is placed back on the enclosure.
Attach the threaded male to quick connect fitting to the threaded female nipple, then place the screen top back on the terrarium.
Step 5 – Assemble the Rain Chamber
Place the glass terrarium in the utility sink, using the 4 large PVC pieces as legs to keep the tank off the bottom of the utility sink. The doors should just be able to open over the top of the sink, and ideally the vent below the doors will be below the top of the sink.
Place a strip of filter foam in between the vent/drilled holes of the tank and the side of the sink–this will prevent any small animals or tadpoles/larvae from being swept out of the rain chamber while it is in use. Fill the rain chamber with water (we prefer R/O water reconstituted with Instant Ocean Salt Mix to a specific gravity of 1.001 and tannin extract, such as Sera Morena. Fill until the water runs out of the glass terrarium, and fills the sink to a level that covers the pump and heater in the sink. Place your plants in the rain chamber.
Step 6 – Operating the Rain Chamber
Plug the aquarium heater in, and maintain the water at 76-78°F for most species, such as Red-Eyed Tree Frogs. Most amphibians that will breed in a rain chamber will benefit from several smaller showers and a couple longer ones during the night – using a MistKing Digital Seconds Timer will allow for multiple rain events.
An example rain schedule would be:
- ON 1: 12:00am; OFF 1: 2:00am
- ON 2: 8:00am; OFF 2: 8:01am
- ON 3: 12:00pm; OFF 3: 12:01pm
- ON 4: 4:00pm; OFF 4: 4:01pm
- ON 5: 8:00pm; OFF 5: 10:00pm
The 2-hour long rain events will be the most likely to trigger amplexus and egg laying–the other minute-long events will help maintain humidity.
Water should be changed regularly. To do so, unplug the heater, then place a bucket below the ball valve attached to the drain of the sink. Turn the ball valve, and collect the water from the sink in the bucket to dispose of it.
The filter pad should be rinsed off regularly, as well. Any artificial plants used and the rain chamber should be bleached between uses, then allowed to air dry.
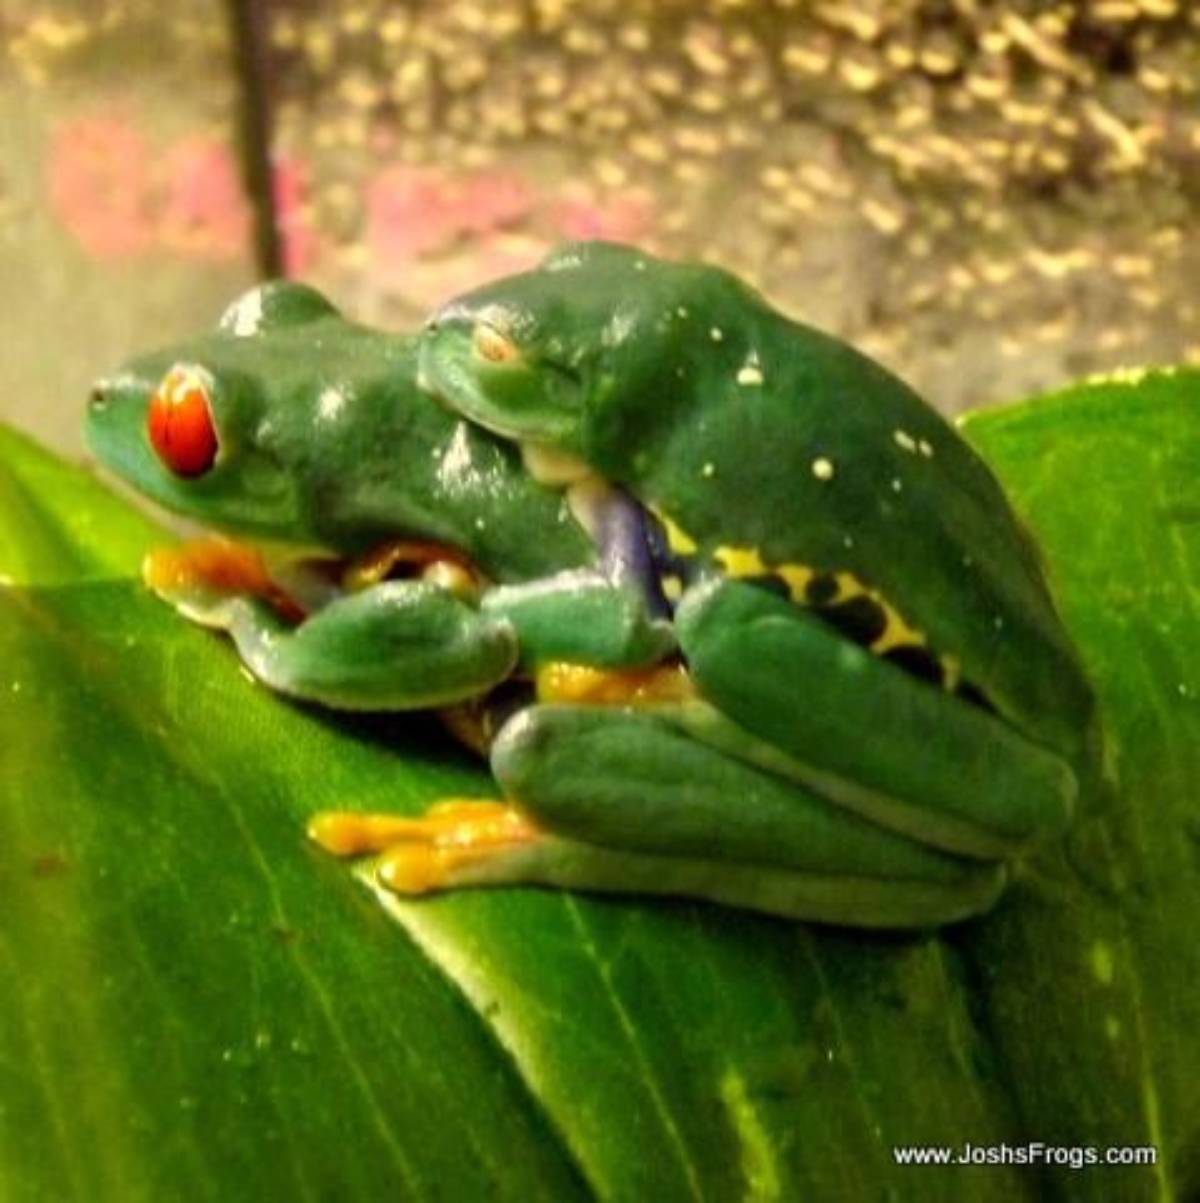
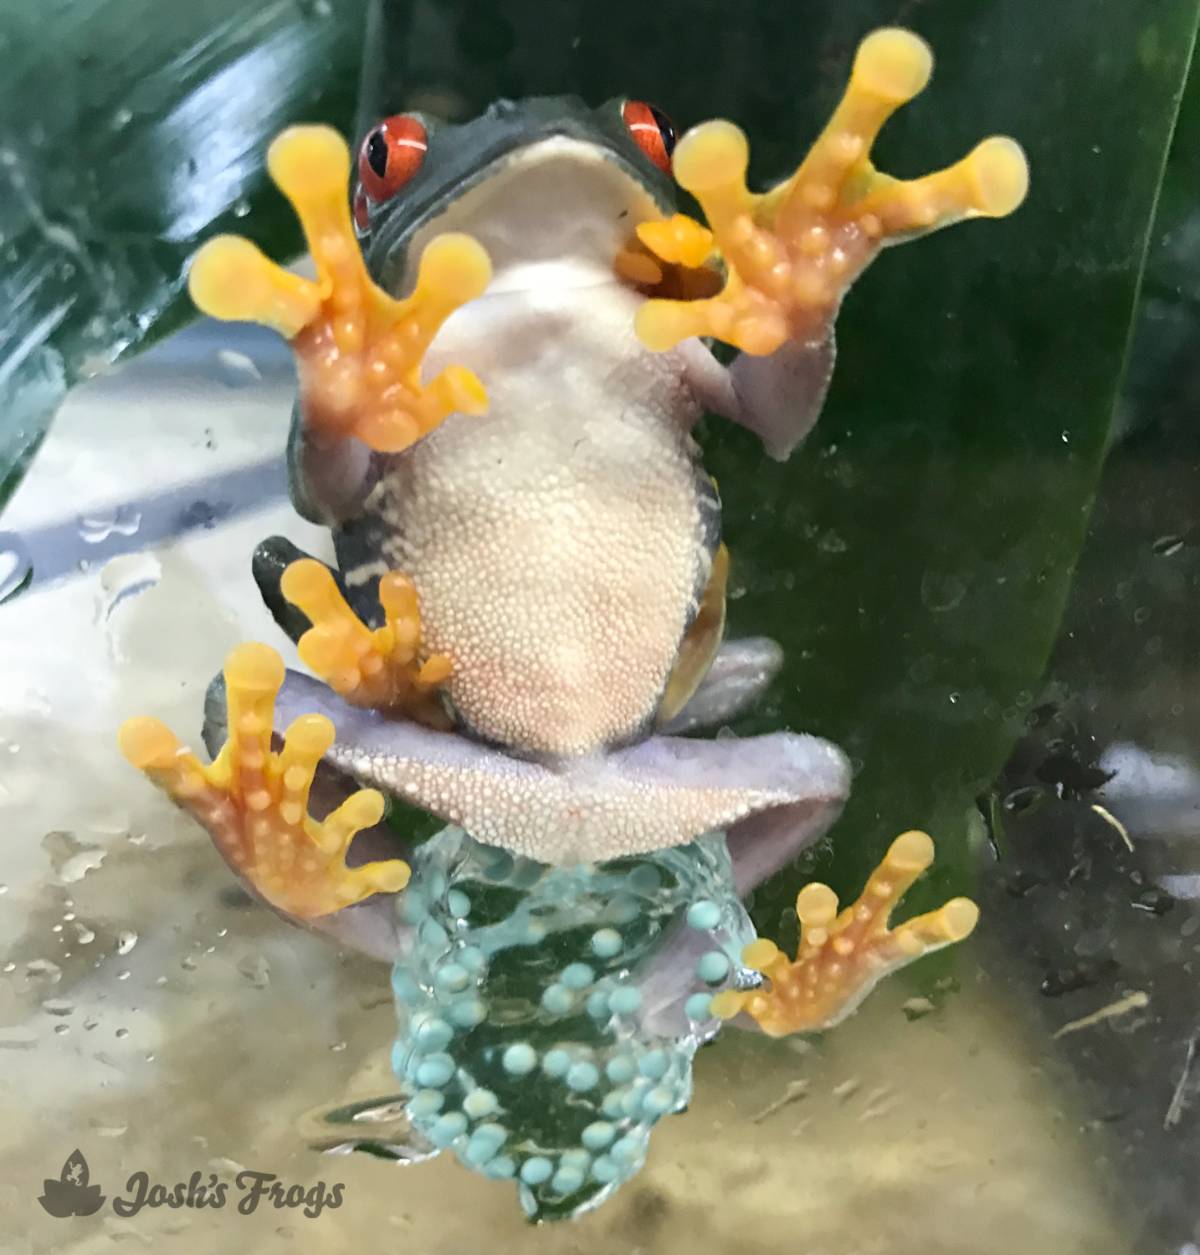
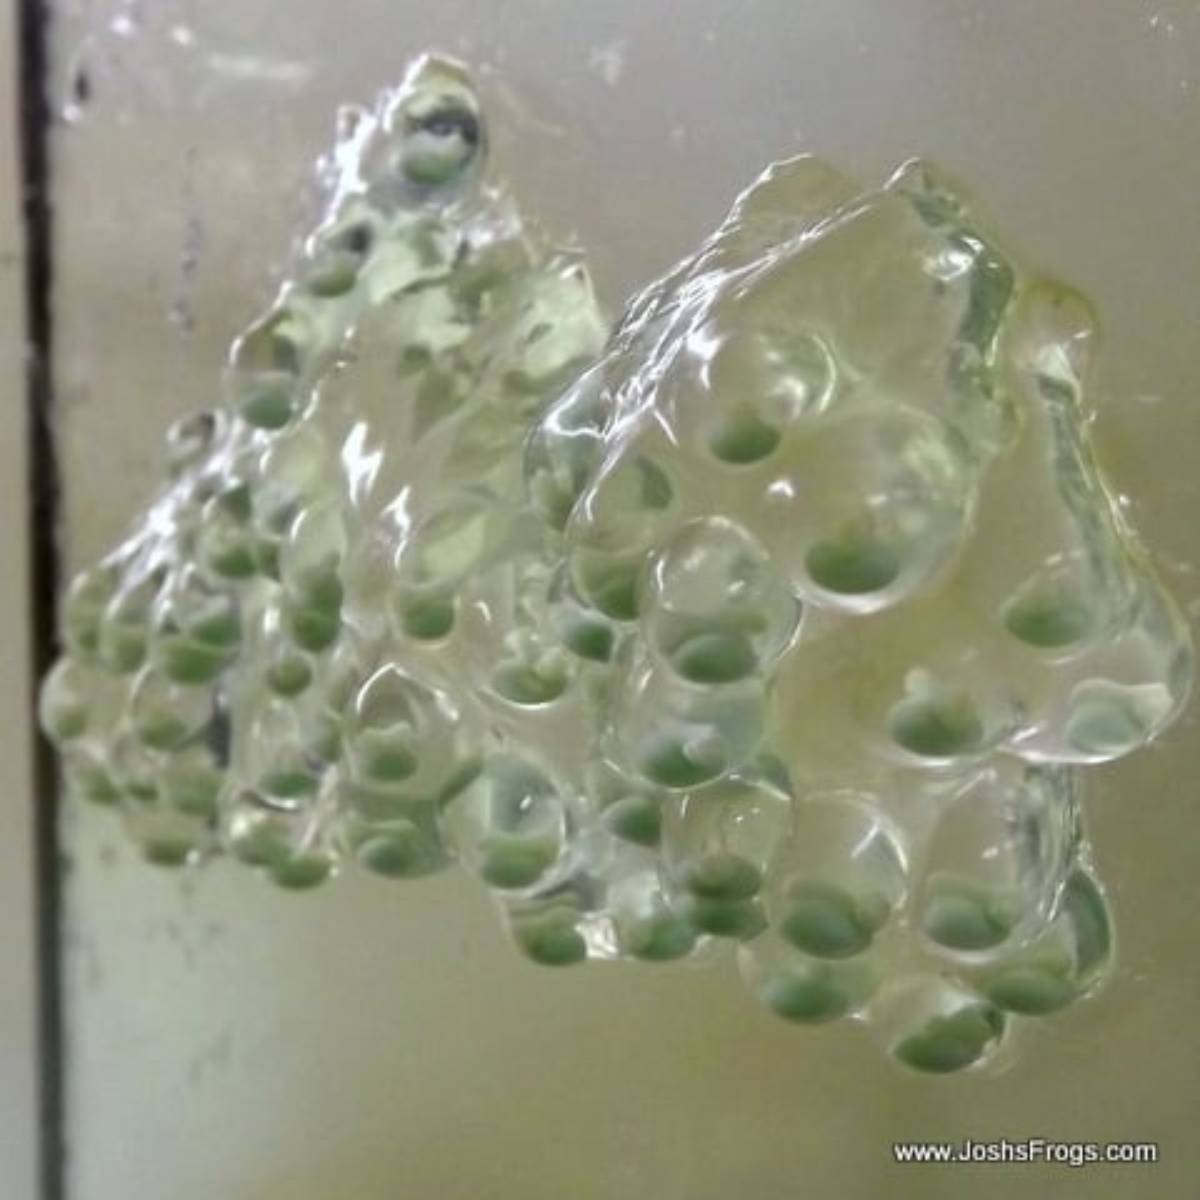
At Josh's Frogs, we use rain chambers to breed many different species of frogs, primarily red-eyed tree frogs. They will deposit their eggs on the undersides of broad leaves, and sometimes directly on the glass of the rain chamber.
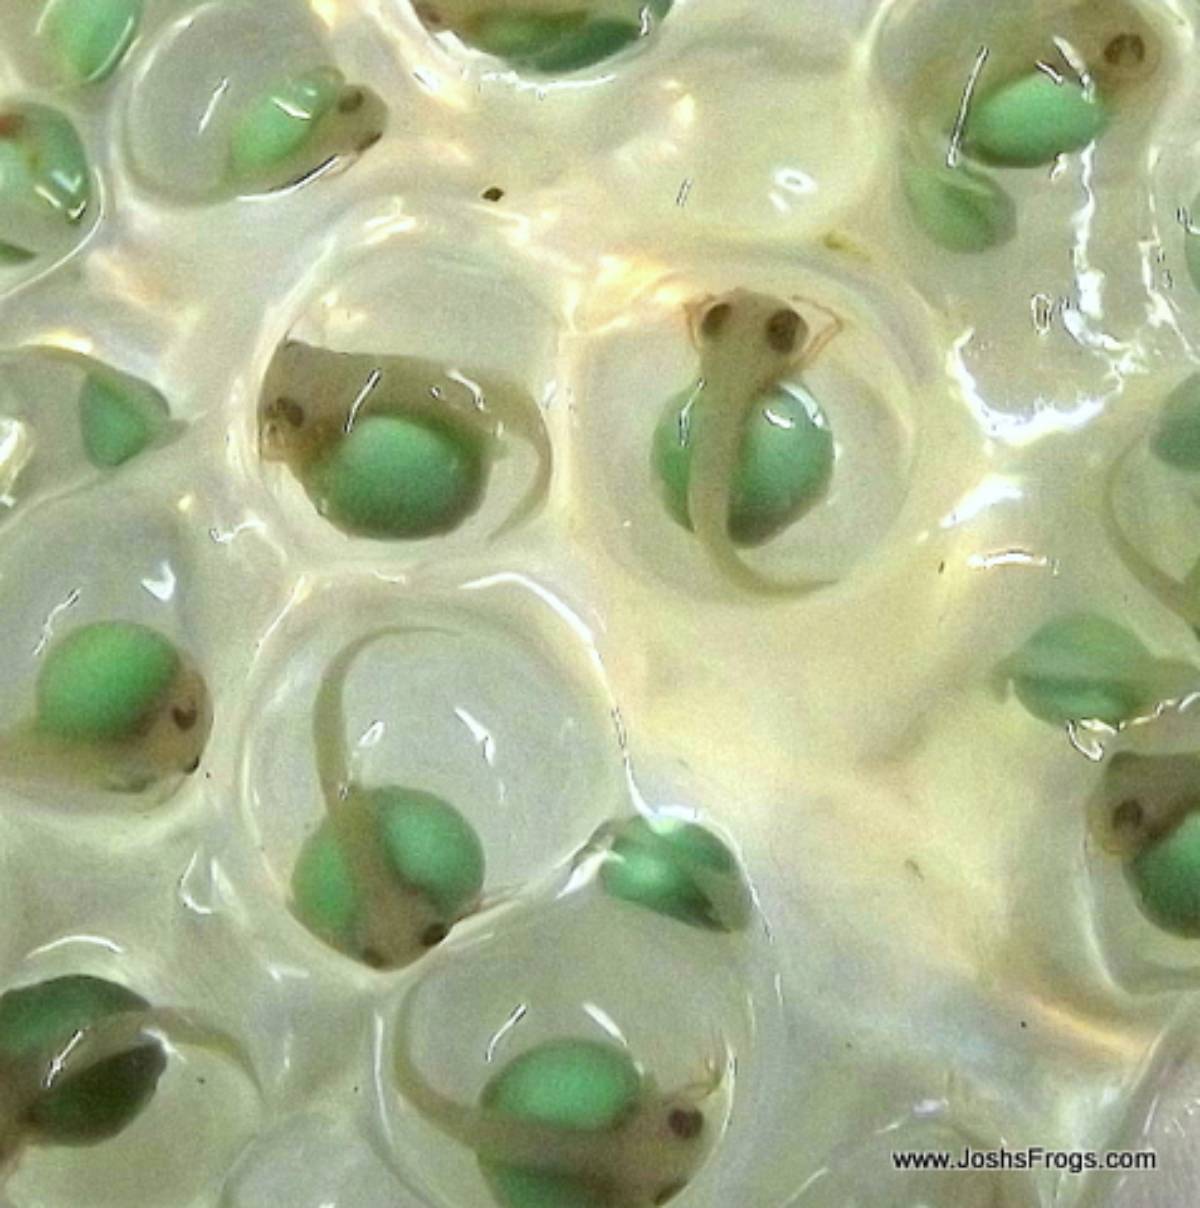
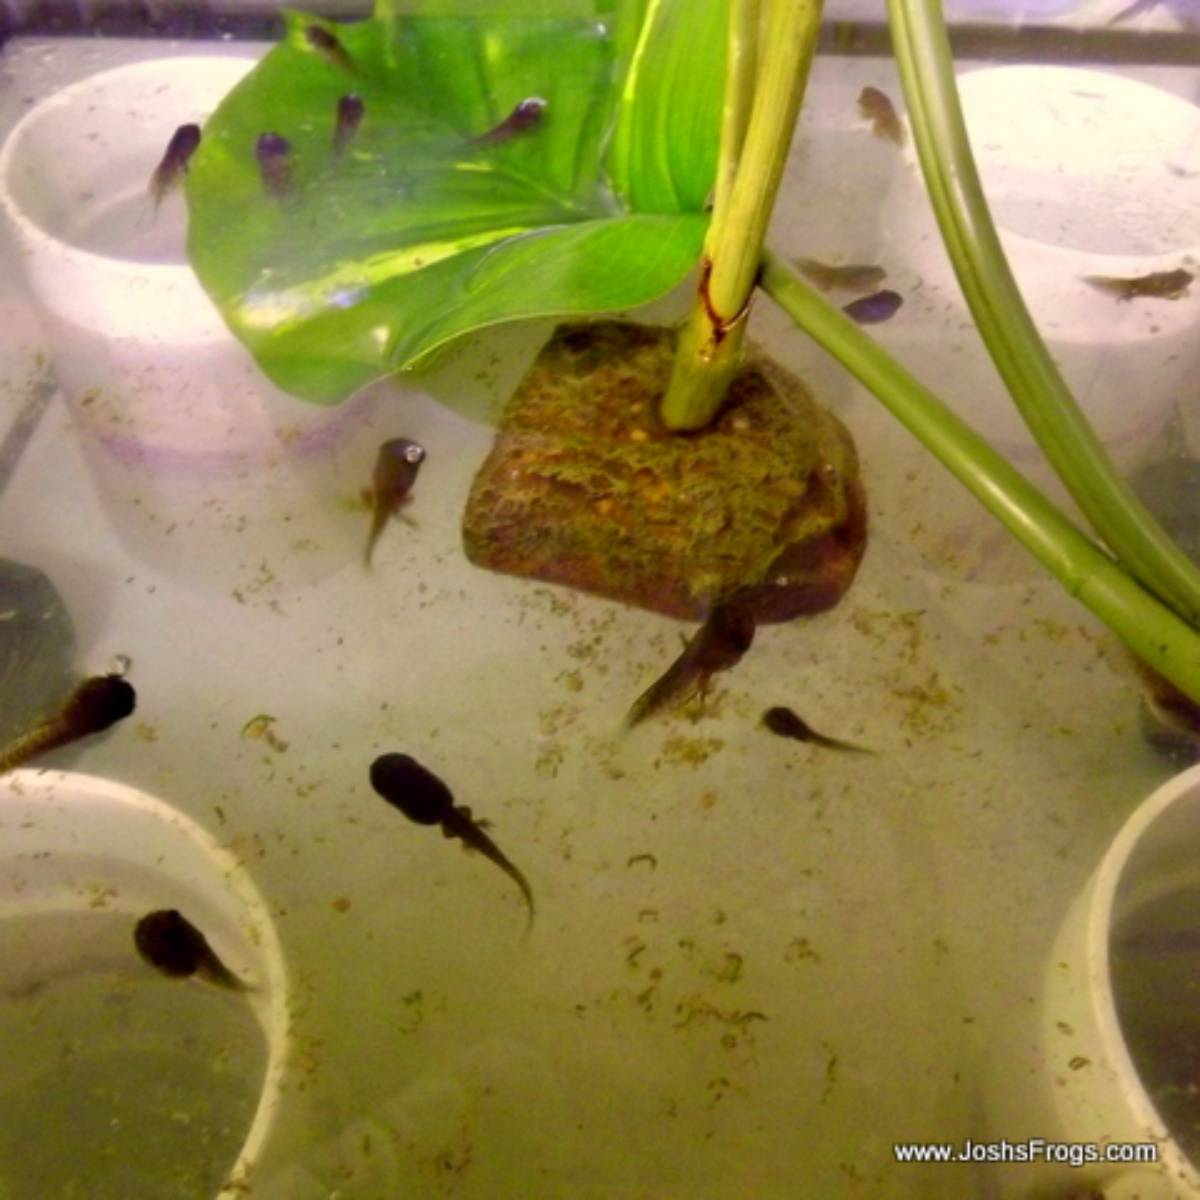
Within 2-3 days, fertile eggs will begin to develop, while bad eggs will turn a solid color and begin to mold. Remove any bad eggs, and allow the fertile eggs to develop into tadpoles in the rain chamber. Once the tadpoles hatch, they will drop into the water below and can easily be removed with a turkey baster, or raised in the rain chamber. We do not recommend using a net on young tadpoles, as it can easily damage their gills.

Conclusion
Rain chambers are a great way to encourage many different species of amphibians—especially tree frogs—to breed. This how-to guide from Josh's Frogs explains our technique for building rain chambers. Please contact us at 1-800-691-8178 or at [email protected] with any questions.
Topics in this Blog
1-800-691-8178

Our Team
Josh's Frogs ©2020 - 2026 by Josh's Frogs, LLC.