Josh's Frogs
Why you should buy from us
Crafting a Crested Gecko Paradise
Improving your pet's environment is one big way to help them live a longer, happier life. For crested geckos, there is no better way to do that then set them up in a properly established naturalistic vivarium.In this blog, we will go through all of the important steps need to create a Crested Gecko Paradise. We will also mention the supplies you will need and link to where you can buy them.If a custom build isn't your thing, we also have a wide variety of
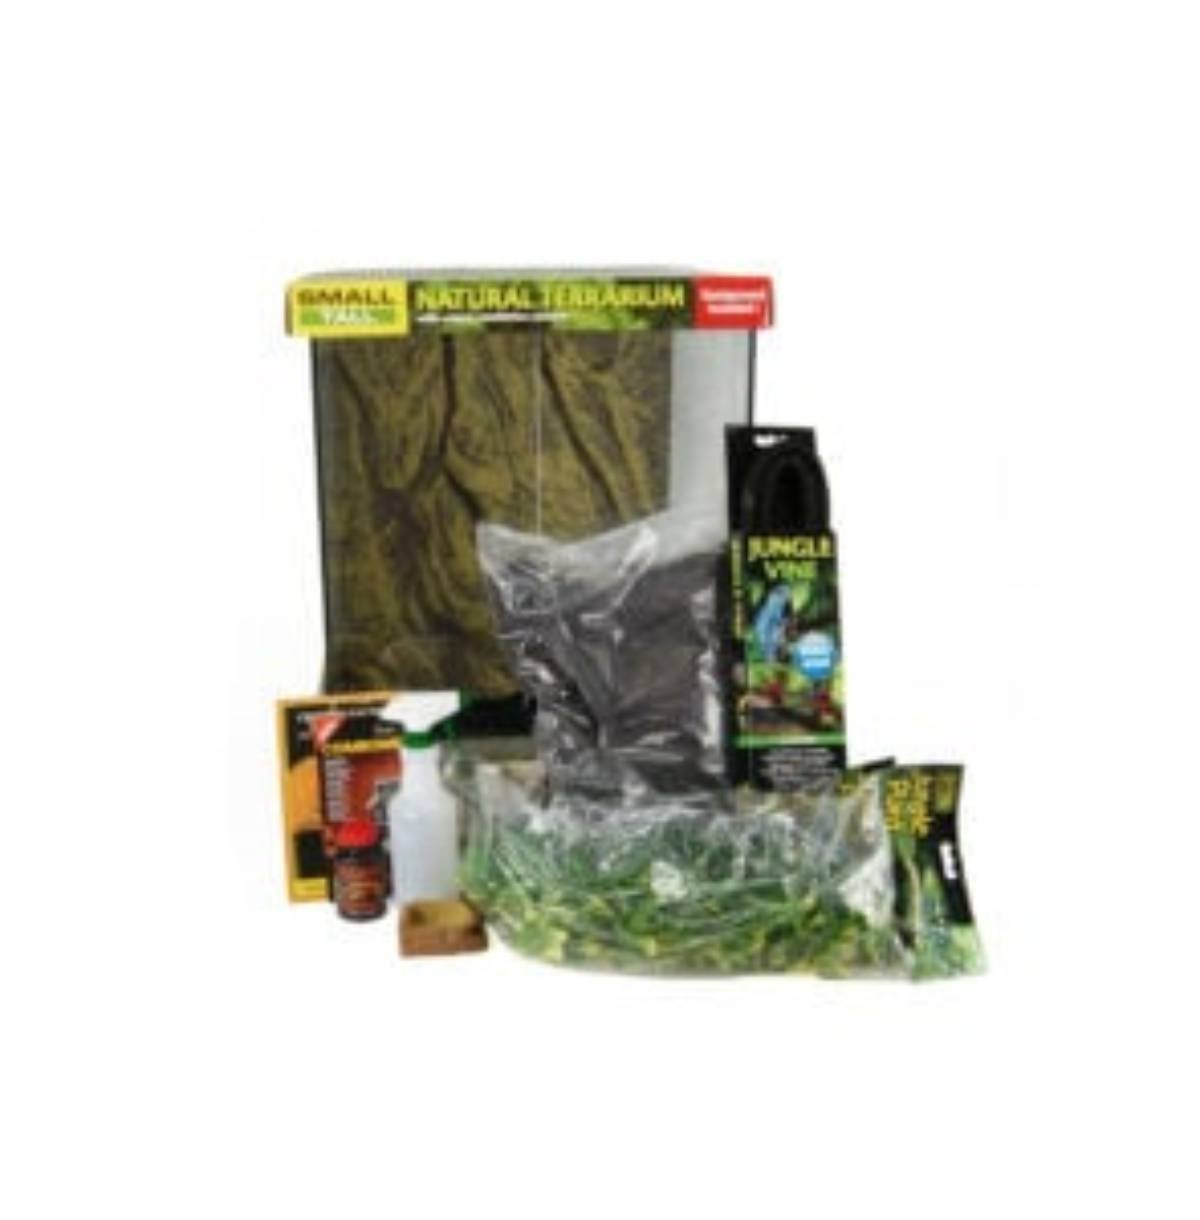
Josh's Frogs Crested Gecko Care Kits that make habitat creation a breeze!

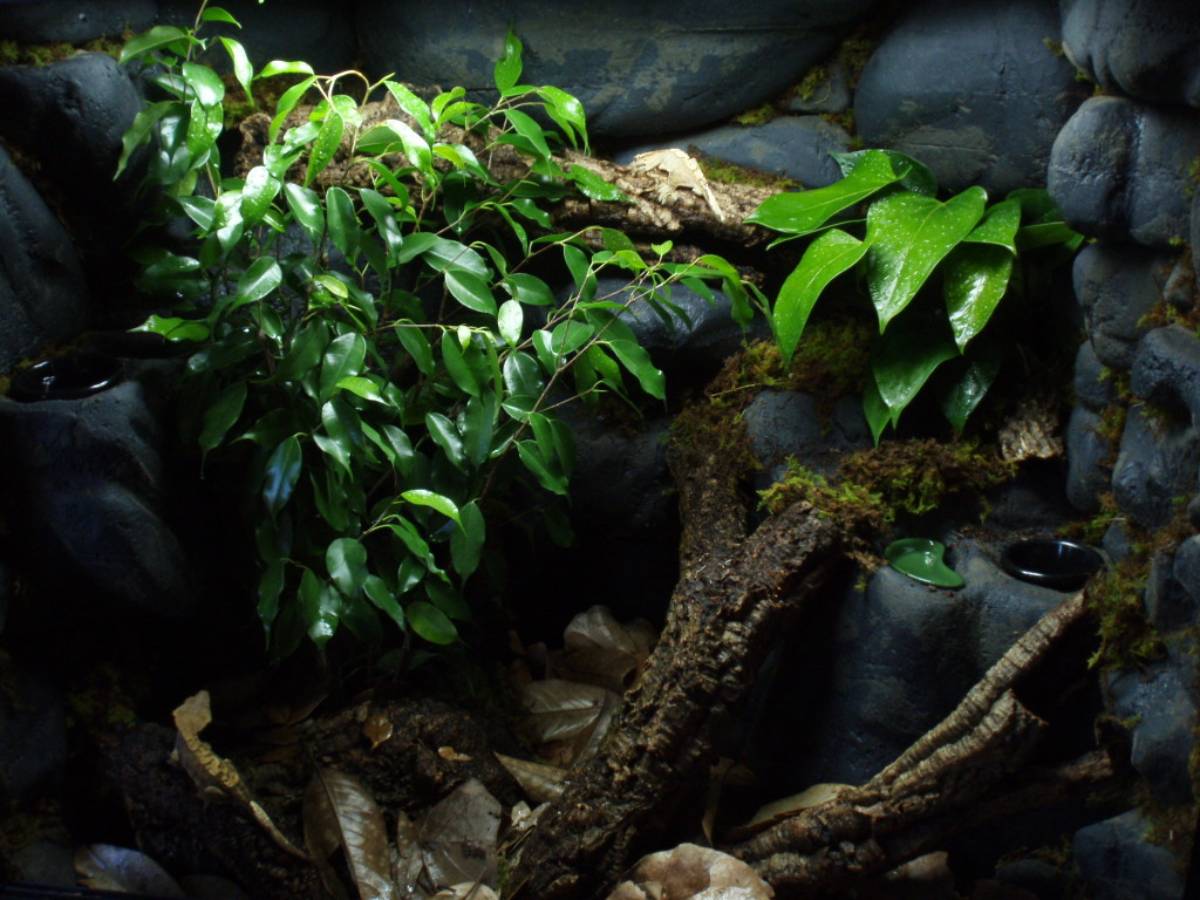

 Once your crested gecko vivarium is planted, sit back and enjoy!

Choosing The Enclosure
The first step is deciding which enclosure to transform. You will need to consider the number and size of geckos that will reside in the enclosure.Unlike dart frogs, crested geckos produce a lot of waste for the vivarium clean-up crew to cycle. Using a vivarium with more surface area is advised. Keep in mind that crested geckos are arboreal, and also prefer tall habitats for climbing space.We recommend ten gallons of space per adult crested gecko, with a minimum of 20 gallons of space for one to two adults. Though regular aquarium tanks can be purchased at a local pet store, choosing an Exo Terra (or other front-opening enclosures) offers a lot of benefits! Front opening doors make it easier to feed and access your gecko, and will make background construction more enjoyable.An 18”x18""x24"" Exo Terra terrarium makes an excellent choice for a vivarium housing one to two adult geckos. Larger terrariums can be found here.
Designing The Hardscape
Here is your opportunity to get creative and have fun with the project. Decide if you want to construct a background for your vivarium. Backgrounds can significantly enhance the beauty of vivaria and create valuable climbing structures for the inhabitants.Before diving in draw a rough sketch of the layout for your hardscape. The “hardscape” includes all non-living décor such as rocks, branches, and substrates. It's easier to build with a plan than it is to put things in randomly.Once your sketch is complete, pick out the vivarium wood needed to fulfill your design. Since wood pieces are typically unique you want to plan these out well in advance based on what you have. Cork flats also make excellent background and floor objects.If you plan to put plants directly into the background, plant baskets can be hidden behind cork flats for simple potting.For the vivarium crafted below, we planned for small cork tubes on the ground and Manzanita as a central horizontal climbing structure. Larger cork tubes also make excellent climbing structures.Constructing a background
Lay the enclosure on its backside, preferably in a location where it can be left to sit and dry for two to three days. Arrange the pieces you chose for the background on the backside. Manzanita or cork tubes connected to the background can be arranged now, or immediately after the great stuff is sprayed.Spray Great Stuff foam in between the background pieces and around the bases of all climbing structures you want to be anchored. The Great Stuff will expand significantly, so there is no need to cover every inch of glass. The foam will need two to three days to expand and dry. You can test to see if it is dry by puncturing it with a needle and checking for wet residue.Once the Great stuff has dried, it is time to carve the surface. The aquarium safe silicone will not adhere to the smooth outer surface of expanded Great Stuff. By removing the outer surface, we reveal the porous inside that will allow the aquarium safe silicone to adhere. Once the outer layer is removed, you may continue carving until you are satisfied with the structure. The carved Great Stuff will soon be covered in aquarium safe silicone and peat, so it does not need to be perfect.Finishing the background
Next, put on gloves and move the enclosure to a well-ventilated area. Apply aquarium safe silicone in three to four-inch sections on the Great Stuff and press handfuls of ground dry peat or dry plantation soil into the aquarium safe silicone. Continue this process until the Great Stuff is completely covered.Refrain from applying aquarium safe silicone to the great stuff all at once, because the surface of the aquarium safe silicone may dry before you get the chance to press the final layer.Allow one to two days for the aquarium safe silicone to dry in a well-ventilated area. There must be no detectable fumes in the enclosure before moving forward.Building a background can be intimidating. For more in-depth instruction, check out our blog ""don't Back Down From The Background"".
Substrate Layers
Layering a Crested Gecko terrarium has so many benefits! The layers will work together to provide appropriate moisture, an excellent base for healthy bacteria, and a cozy home for cleaning insects (covered in the next section). If you are hand misting and using Biobedding Tropical, you can skip the drainage layer! Layer one: Hydroton (also known as LECA, for light expanded clay aggregate) is a great choice for the false bottom or drainage layer in a vivarium. LECA is a natural product, made from heated clay. It retains moisture, provides lots of surface area for bacteria and plant roots to grow, and wicks water, which will help maintain humidity in a vivarium. Use one bag of hydroton per 10 gallons (two bags for an 18”x18”x24” Exo Terra). Layer two: The substrate barrier is placed on top of the false bottom layer. This keeps the substrate from falling into the False Bottom and hitting the standing water. Since the barrier is porous, moisture passed through easily. Layer three: BioBedding is a custom substrate to make your vivarium bioactive. The ingredients support a natural habitat for your gecko while allowing proper moisture control. Use one bag of BioBedding per 10 gallons (two bags for an 18 x 18 x 24 Exo Terra). Layer four: Leaf litter can be added to further maintain moisture in the substrate. This layer also allows for quick and easy routine fecal removal.Cleanup Crew
Going Bioactive with your vivarium includes supporting tiny insects to help cycle and clean your vivarium. This greatly extends the life of your tank and further creates a natural habitat. Springtails and Isopods do the heavy lifting by living in the BioBedding and Coco Fiber layers of substrate and nibbling on waste and organic material. For this reason, we call these guys the ""cleanup crew"".Crested Geckos can overload the cleanup crew, so it's important to try and remove waste as you see it appear. This will allow the insects to stay on top of remaining waste, as well as mold and decomposing matter that might appear.
Plants
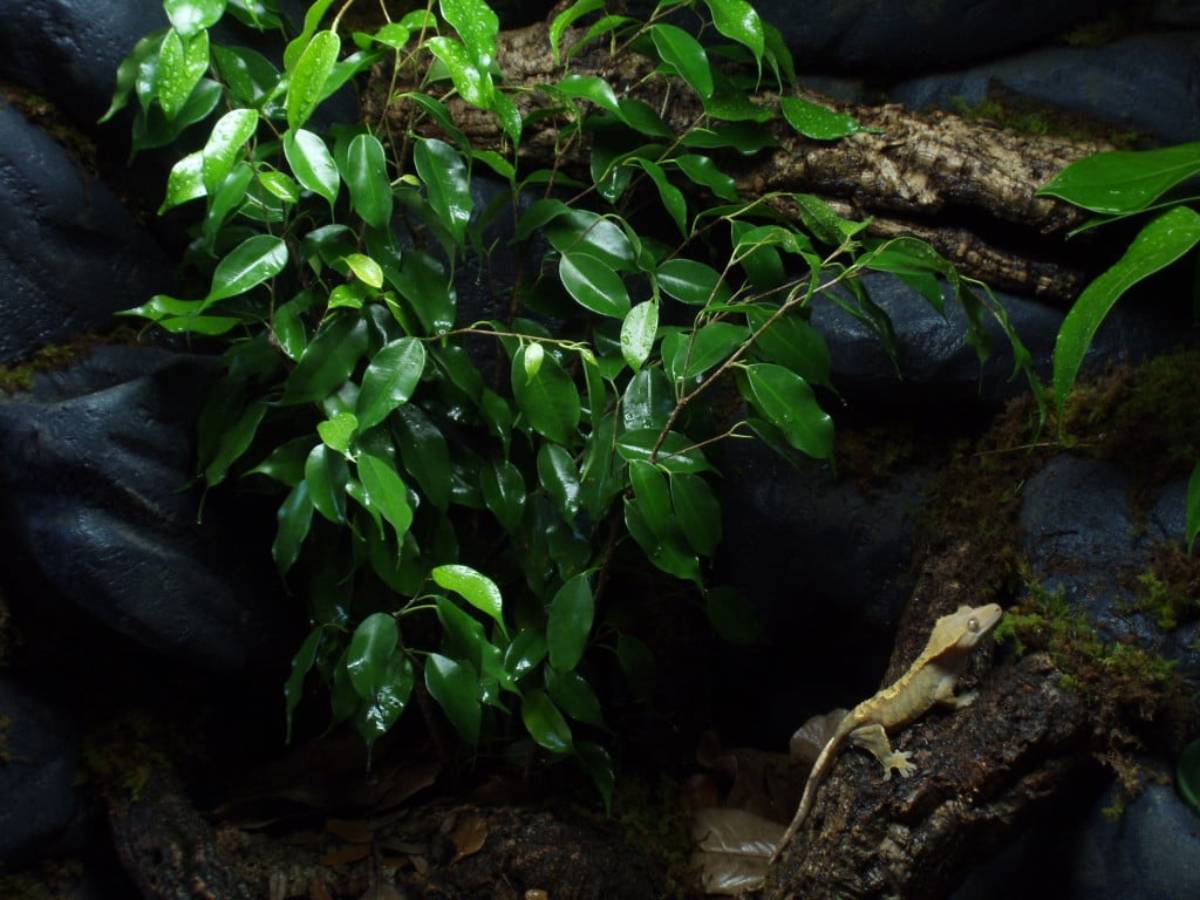
Planting begins once the substrate layers are in place. A successful vivarium houses plants that are well-suited to the environment and activity of the animal inhabitants.Crested geckos are relatively heavy, and can break the stems of many plants used in dart frog vivariums. Likewise, the lower humidity in crested gecko enclosures does not bode well for these plants.Each plant species offered on the Josh’s Frogs website is accompanied by a profile with care needs. Some will require direct watering and higher lighting, while others thrive with minimal effort.To make it easy, we've created an entire section of plants dedicated to Crested Gecko vivariums. These plants have been chosen to suit the environment of the tank and the weight of the animal. Mix and match your plants, or go with a Crested Gecko Plant Kit that's picked just for you.Once your crested gecko vivarium is planted, sit back and enjoy!

Topics in this Blog
None
1-800-691-8178
Customer service agents are available
weekdays from 9am-6pm ET

Our Team
Josh's Frogs ©2020 - 2026 by Josh's Frogs, LLC.